DeskQ
1. Enable Key Devices in Centro Desk
Crestrons Desk Q devices can be enabled within Centro to use them as part of your solution.
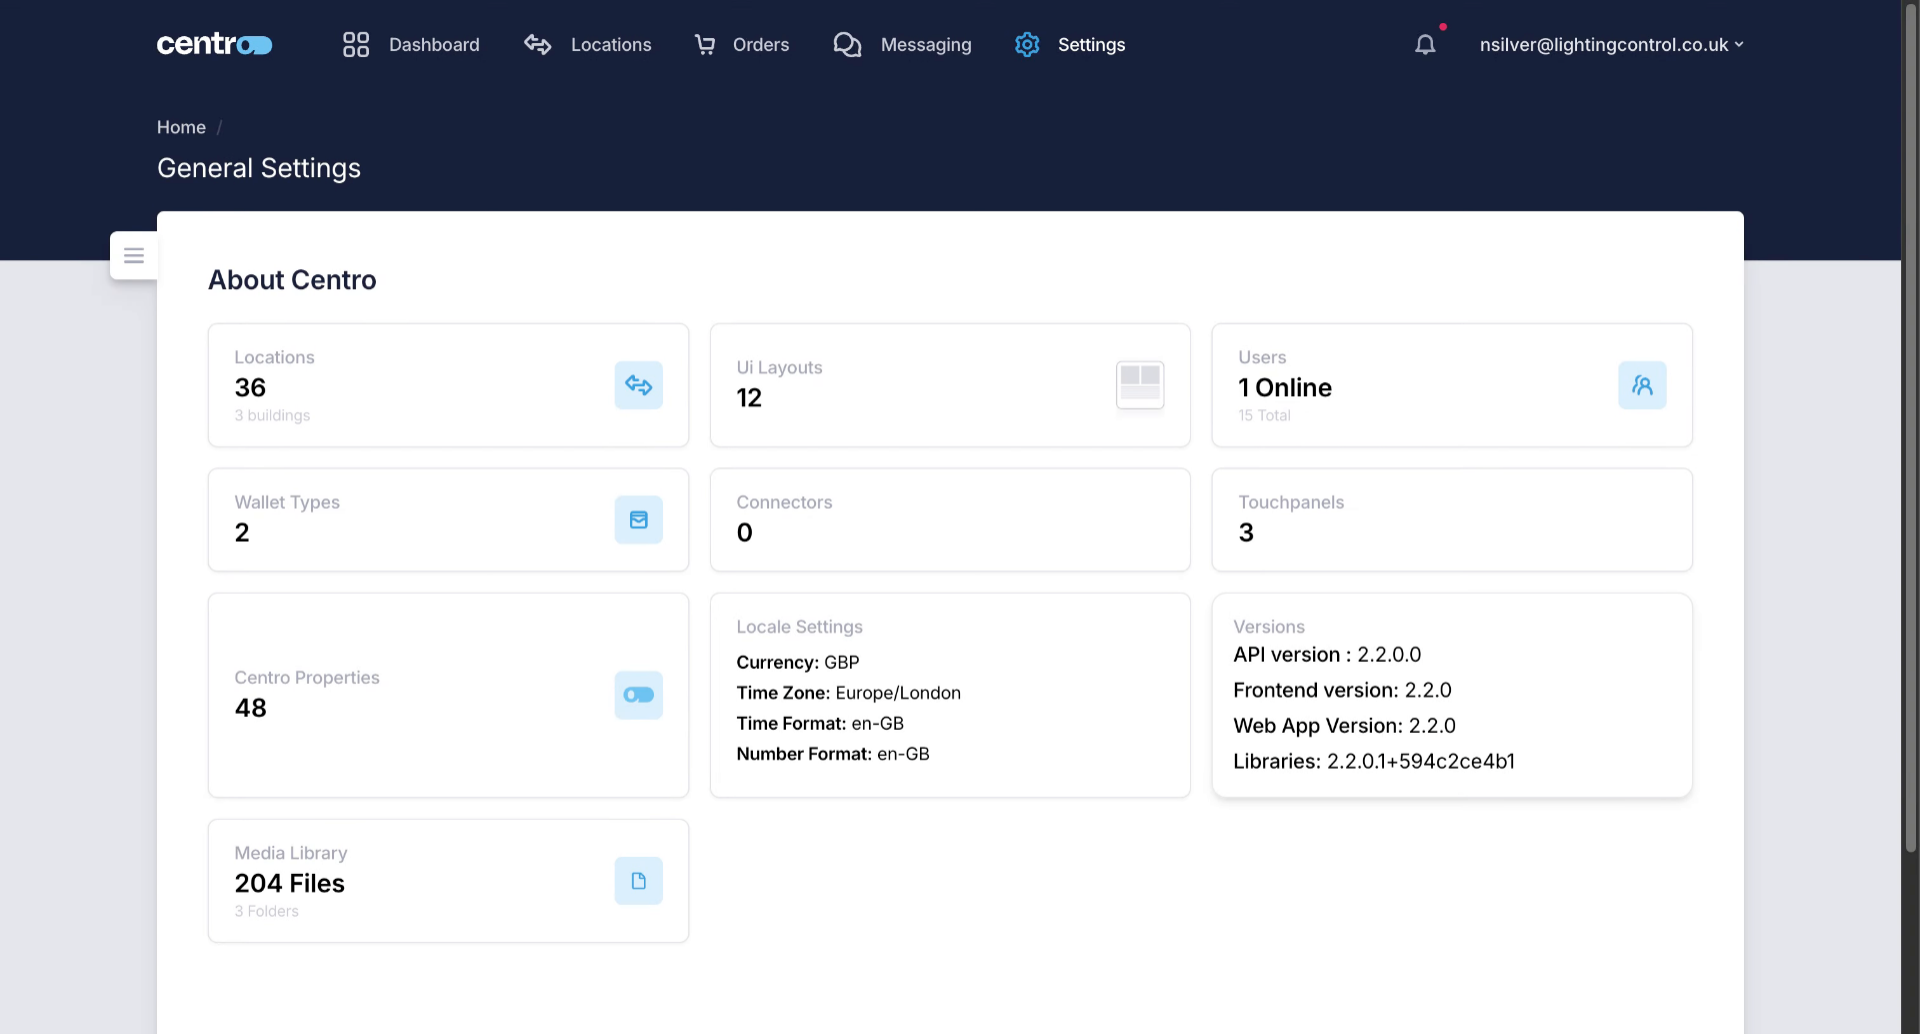
2. Locate Native Device Integrations
As these are native solutions, you can find them in device Integrations.
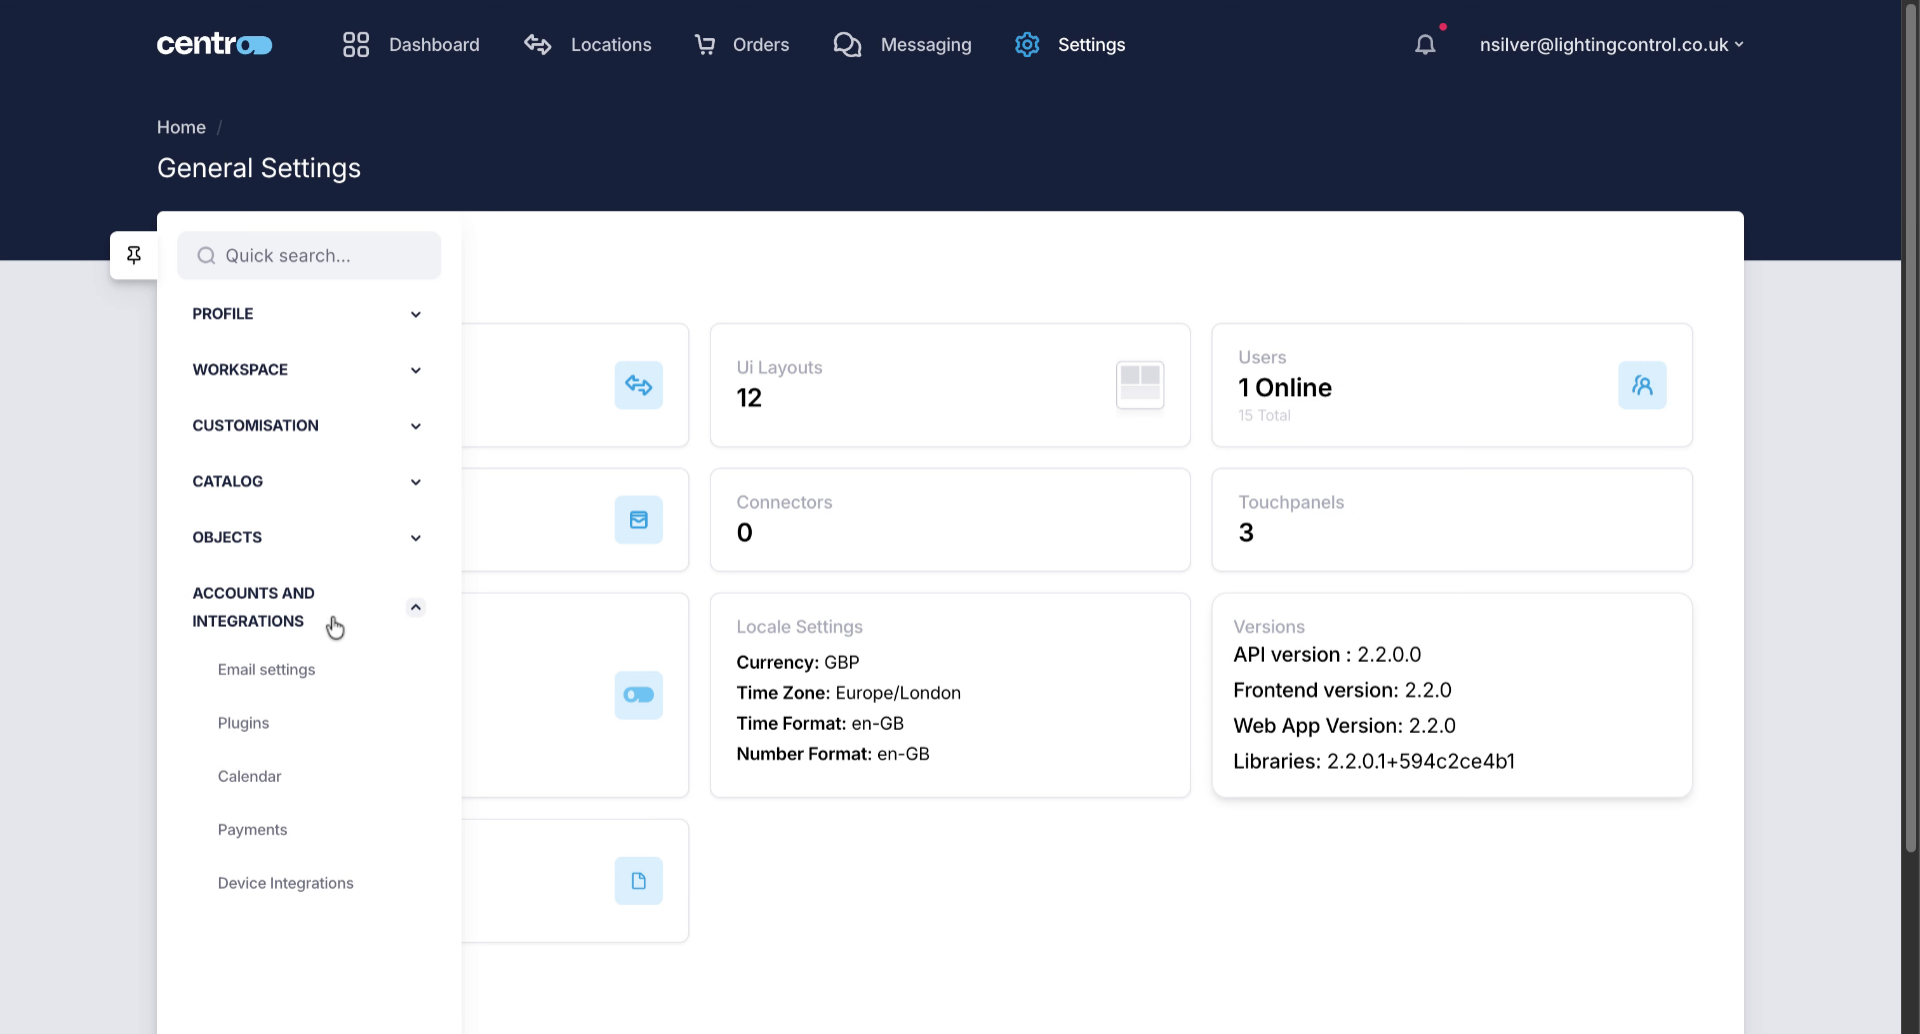
3. Open Device Integrations Section
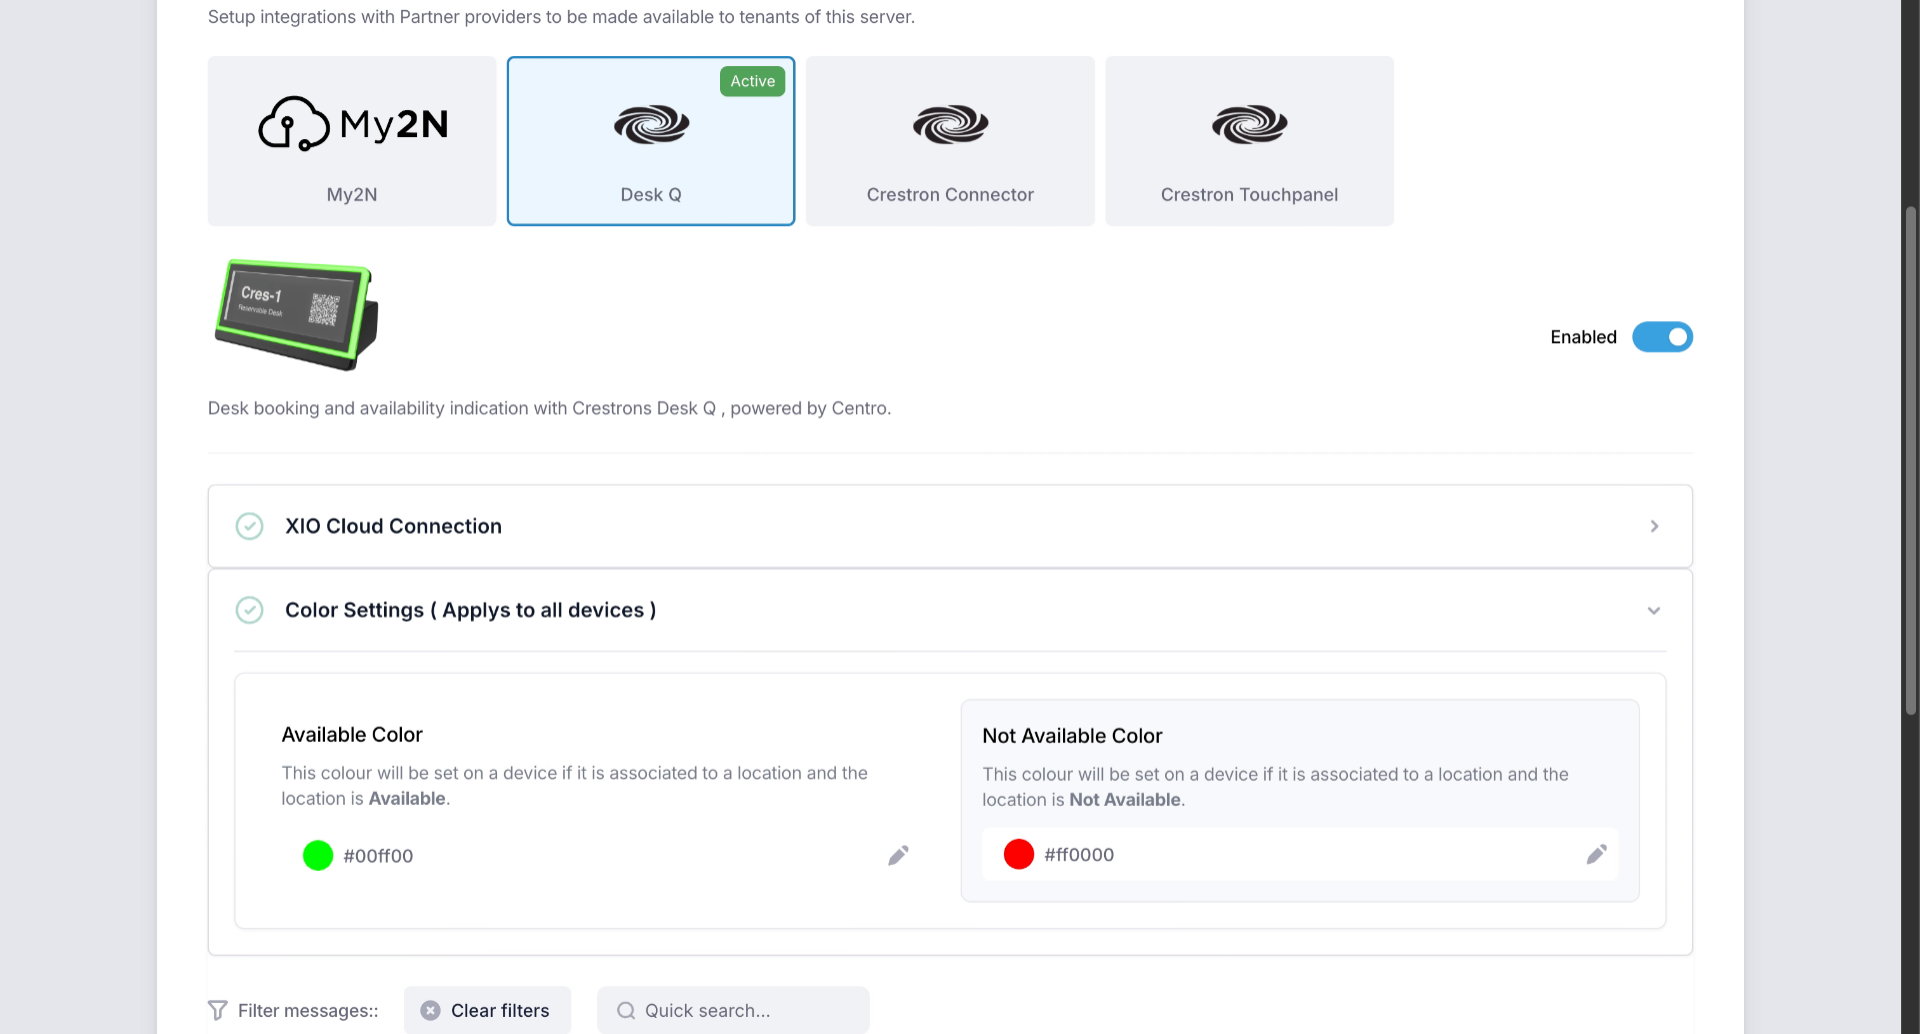
Select Desk Q from the list of partners.
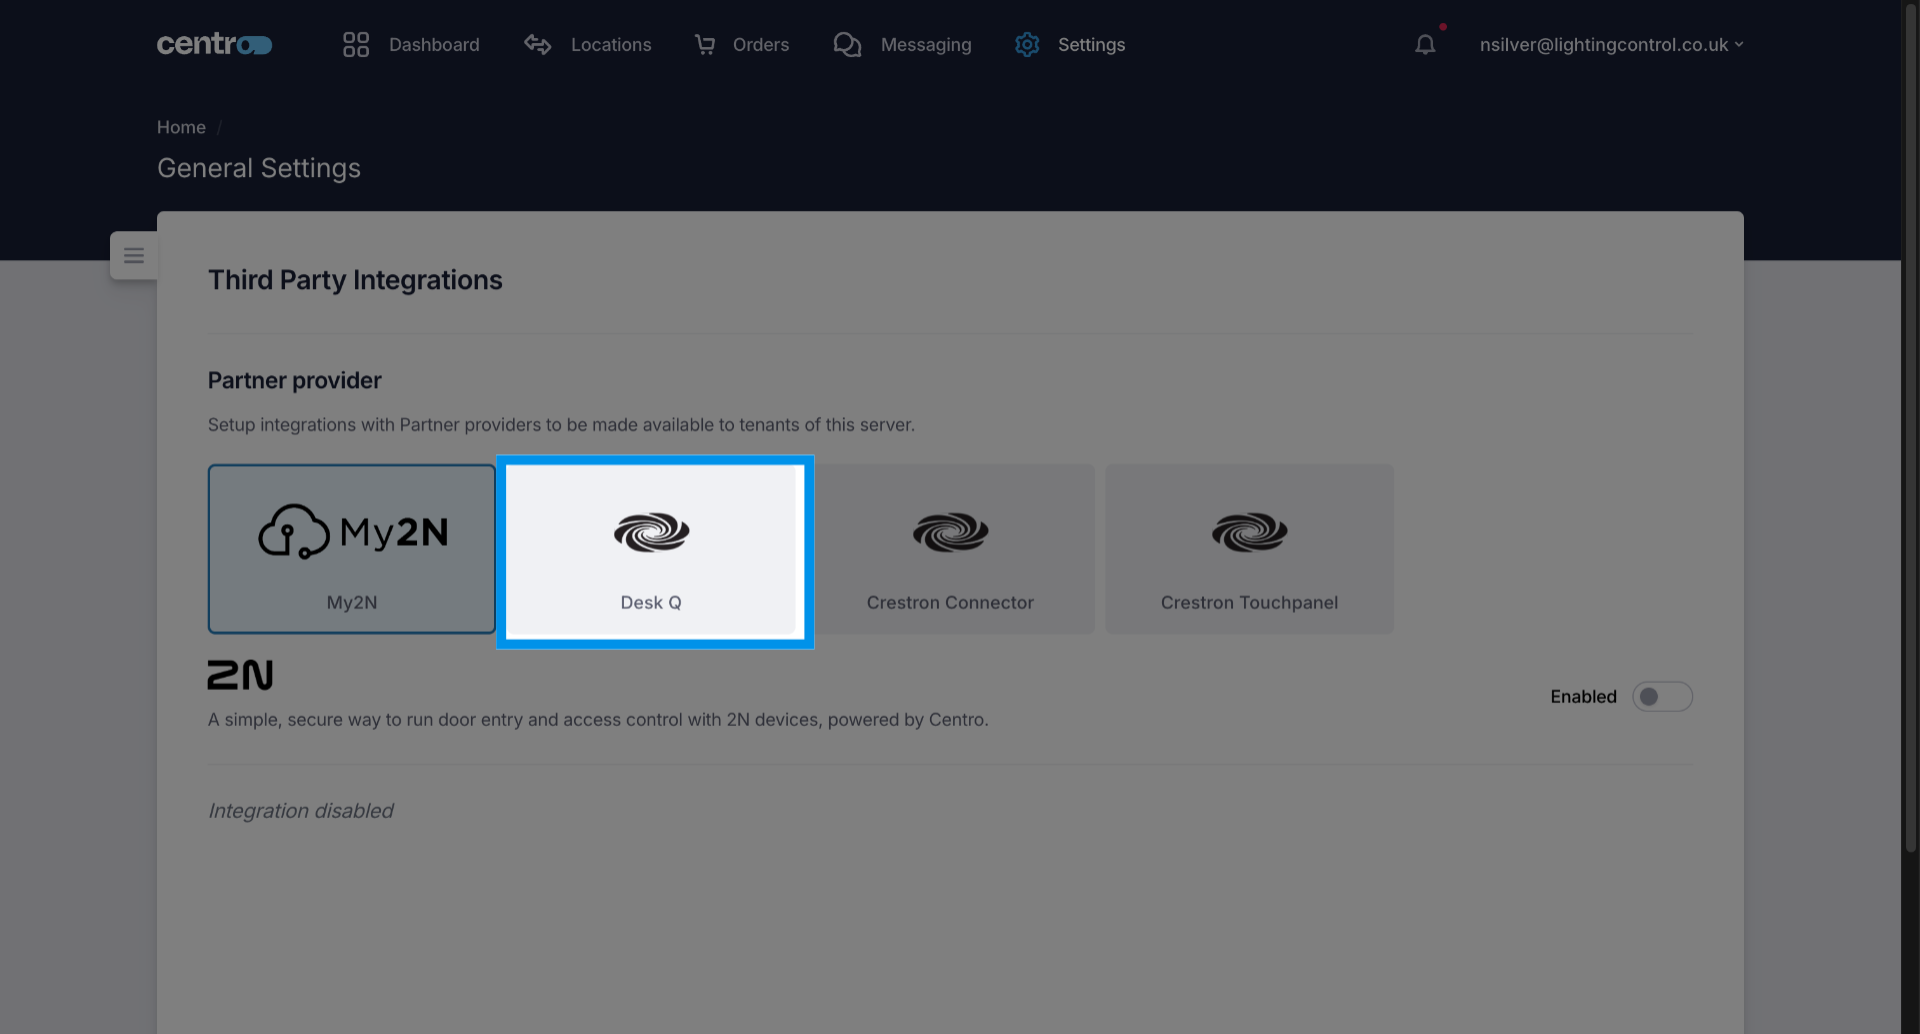
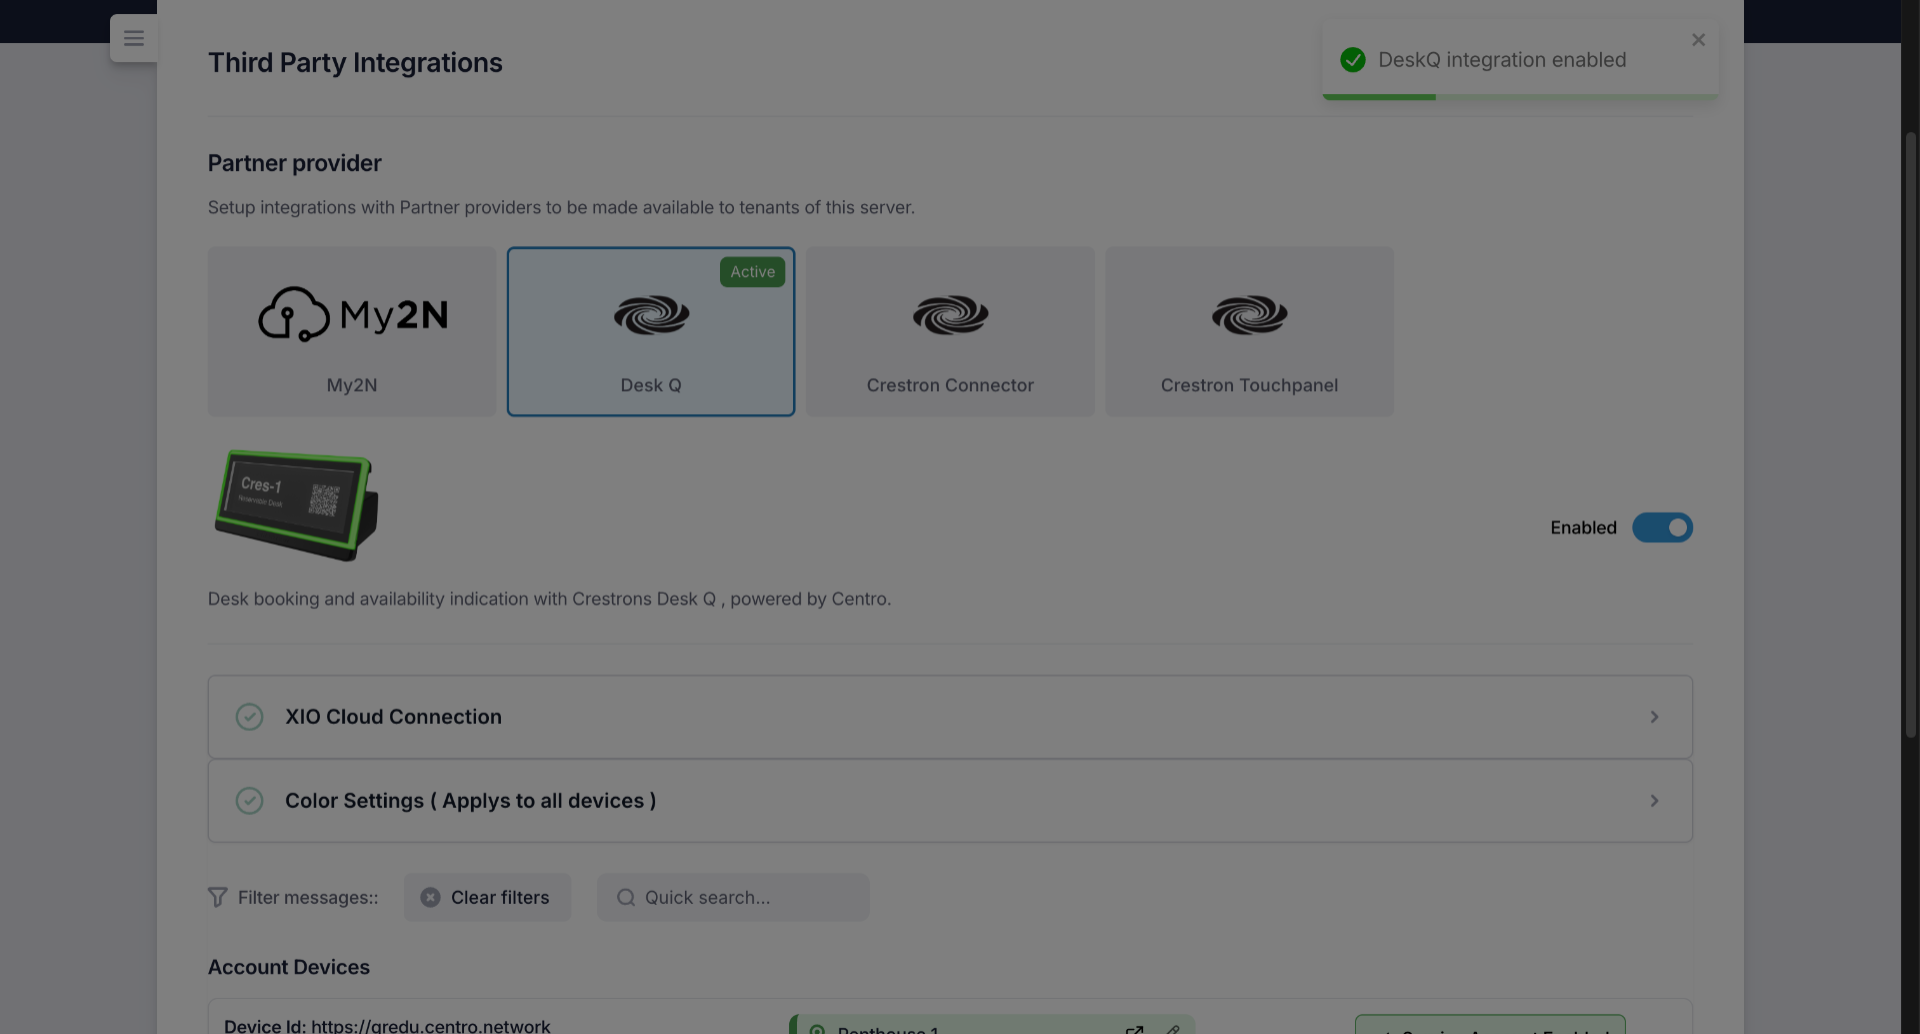
4. Enable Desired Integration
All you need to do is simply enable the integration to activate it within your Centro environment.
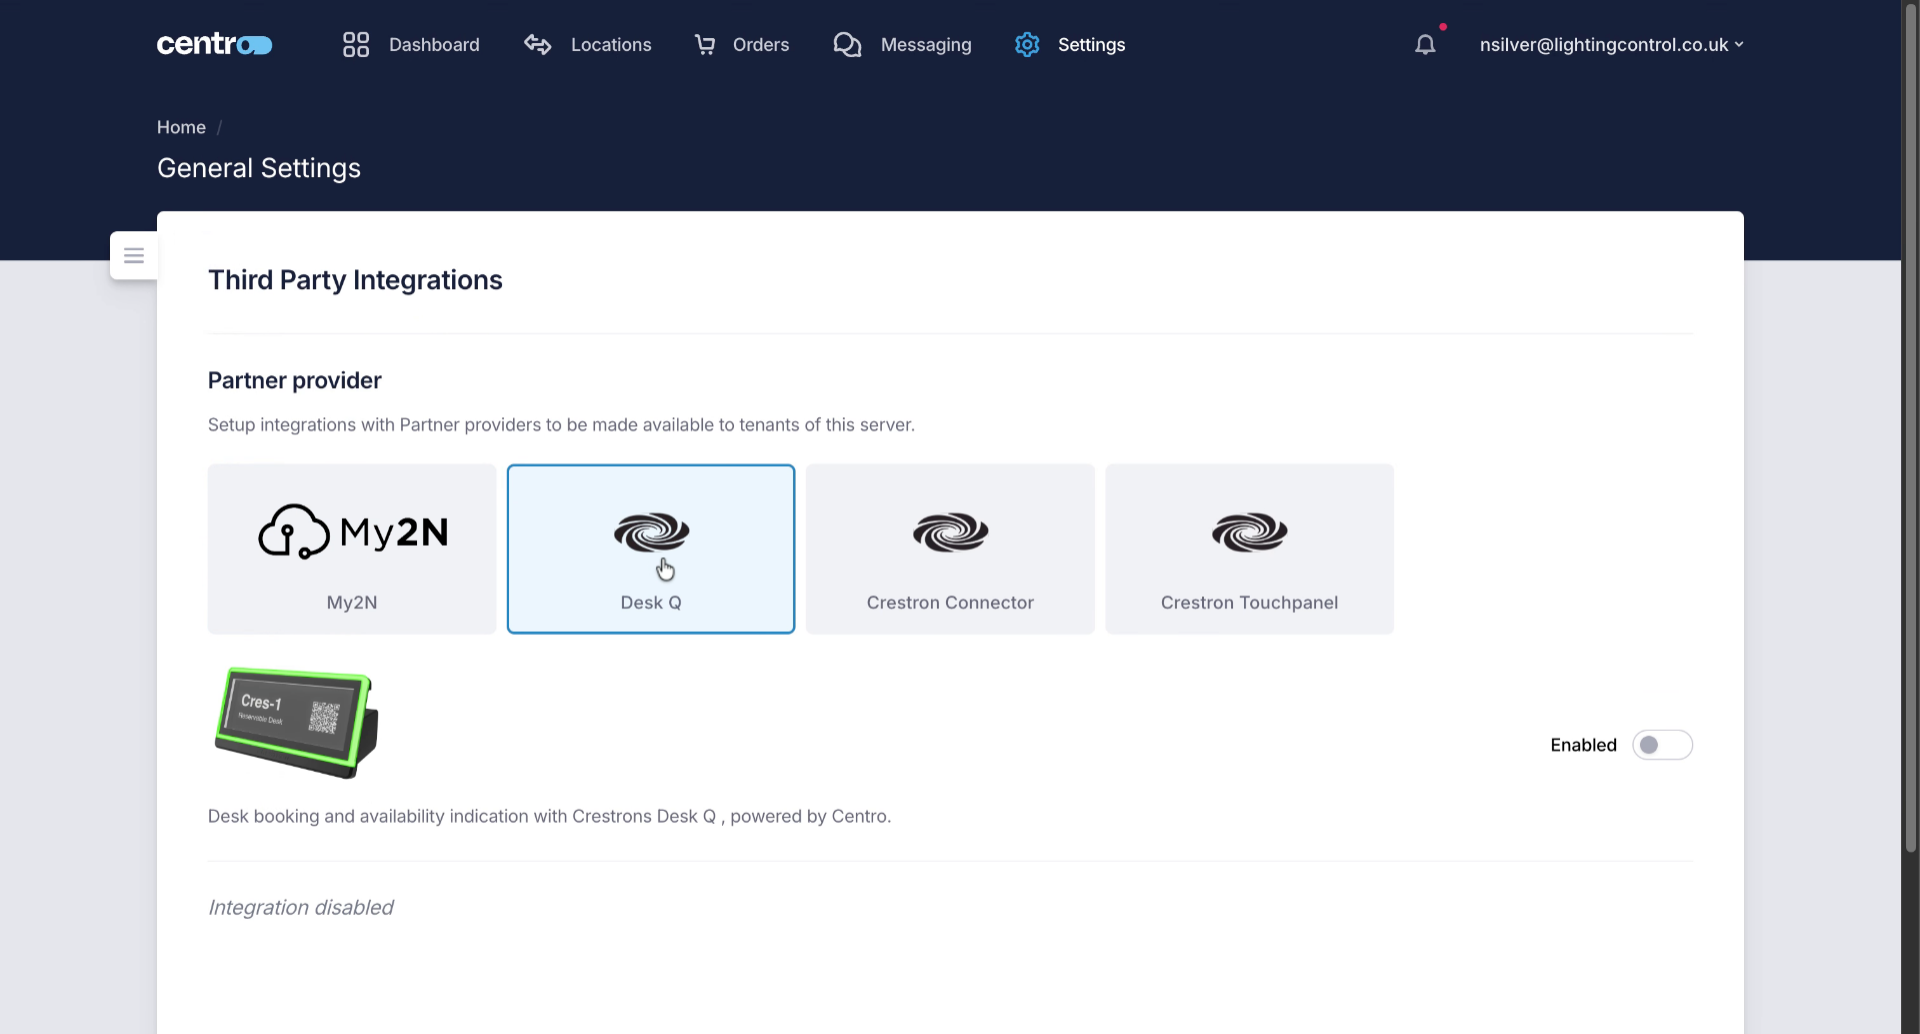
5. Confirm Integration Activation
Once enabled you need to enter your exIO Account identifier in the Cloud Connection Section.
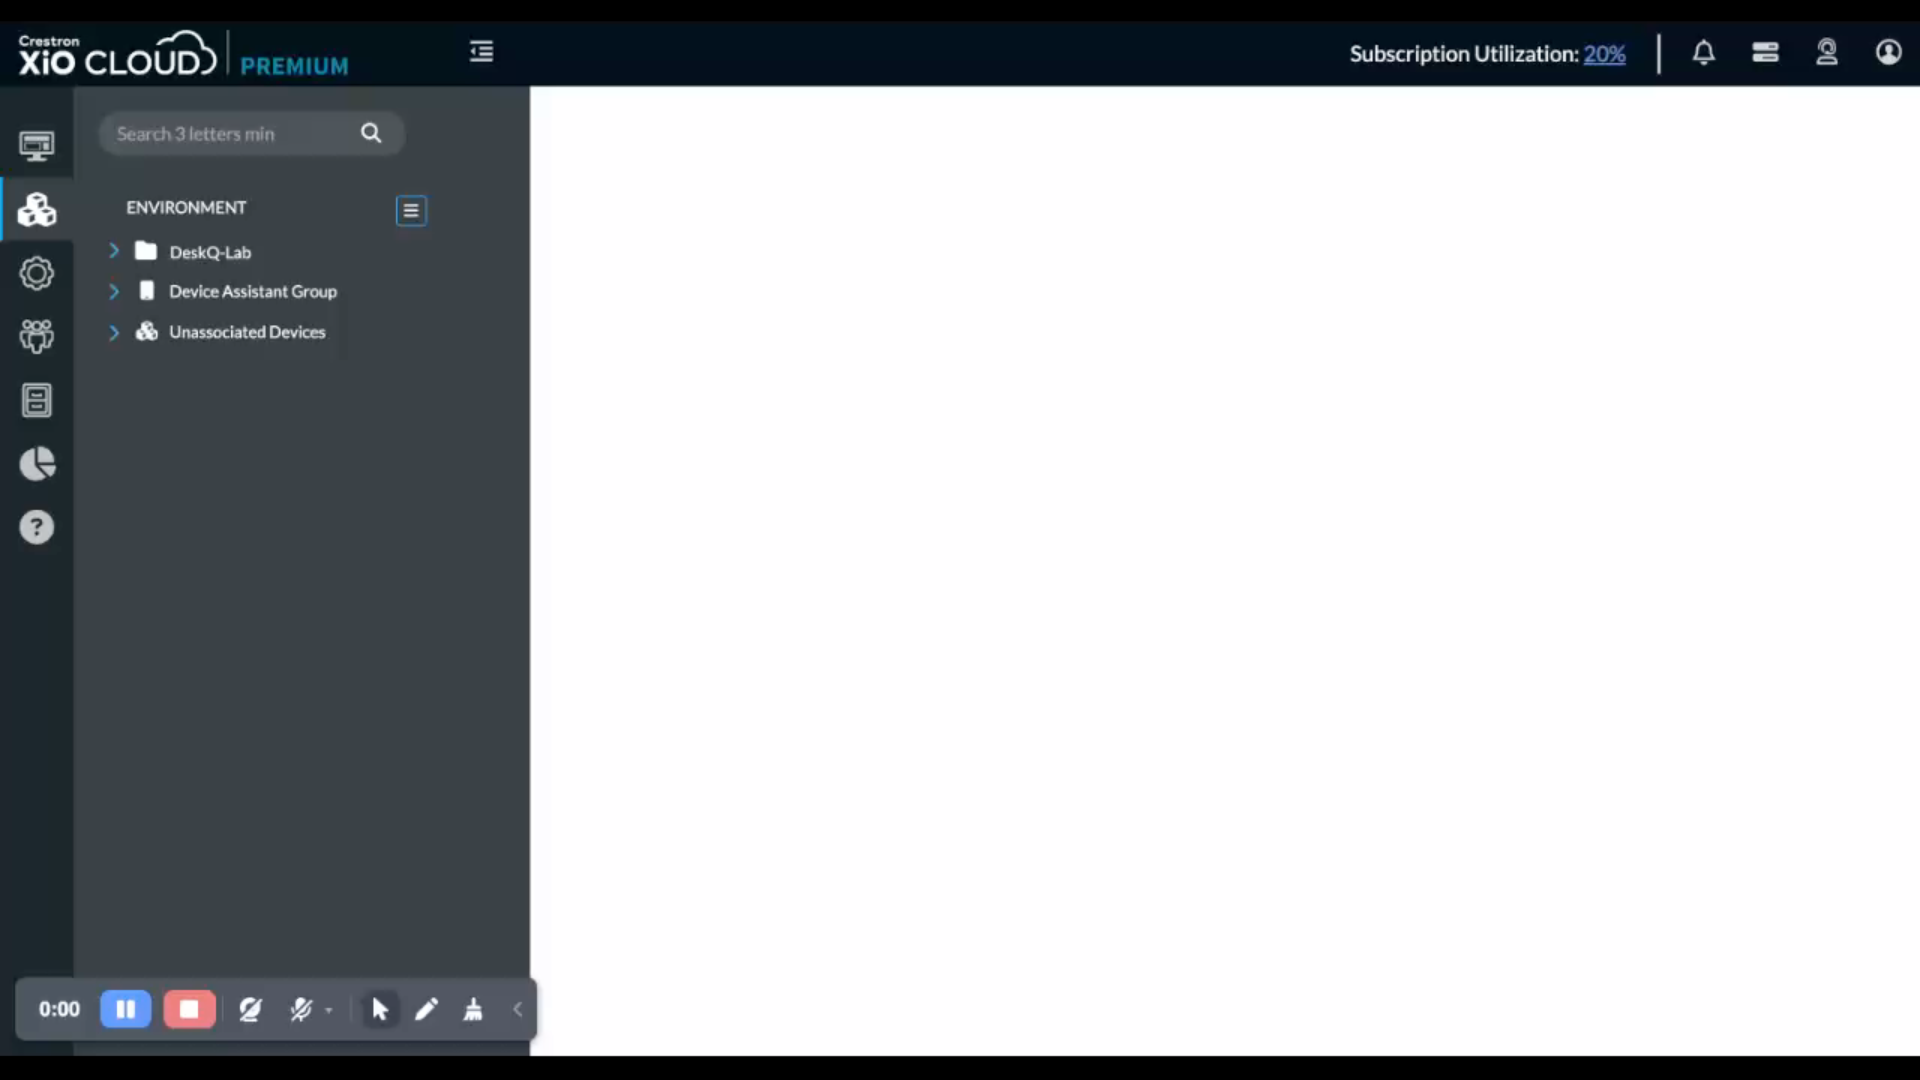
6. Crestron XiO Cloud
In the exIO cloud dashboard. Navigate to settings account settings. Here, you will see the Account ID that you need, take a note of this ID as you will need to enter it in Centro to make the account connection. Below this. You can see the selection for scheduling partner permissions. Here you need to select Centro as your partner to enable your devices to connect to Centro
7. Access Xio Cloud Connection Tab
And then return to the exIO cloud connection tab and use the Account ID you noted in the last step.
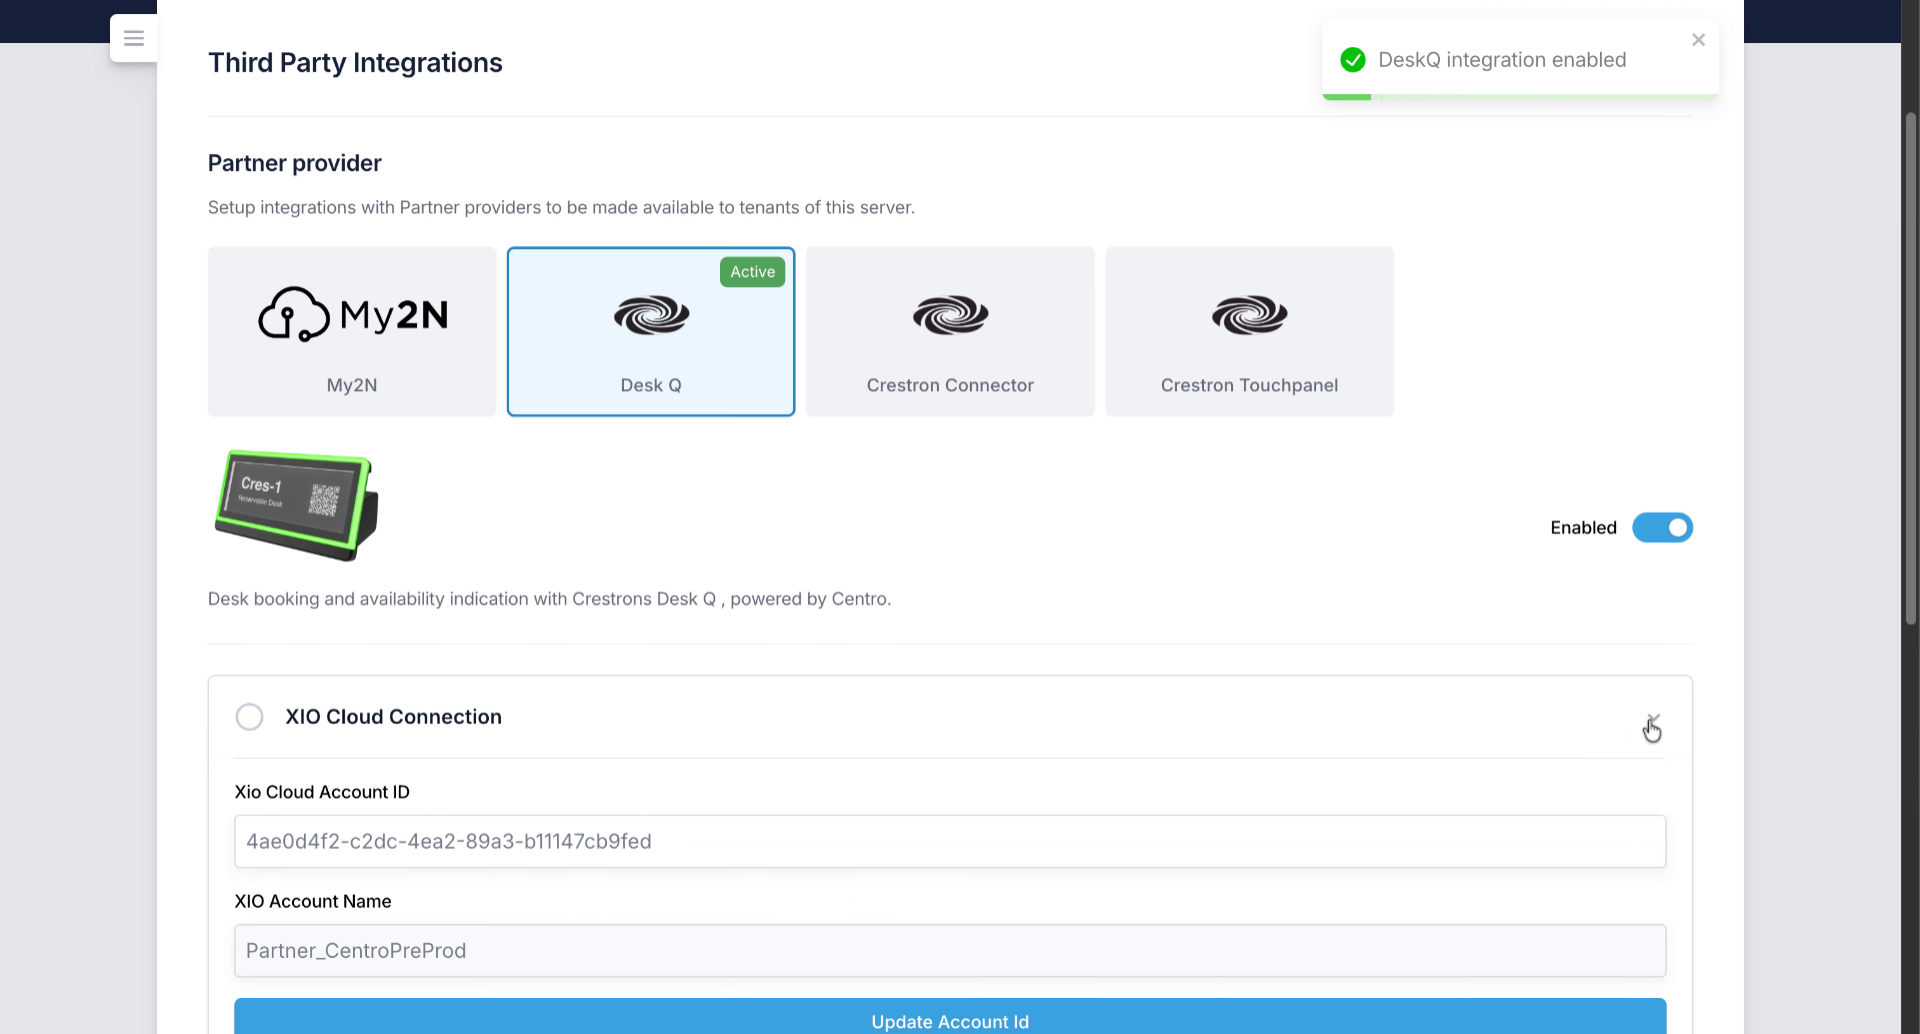
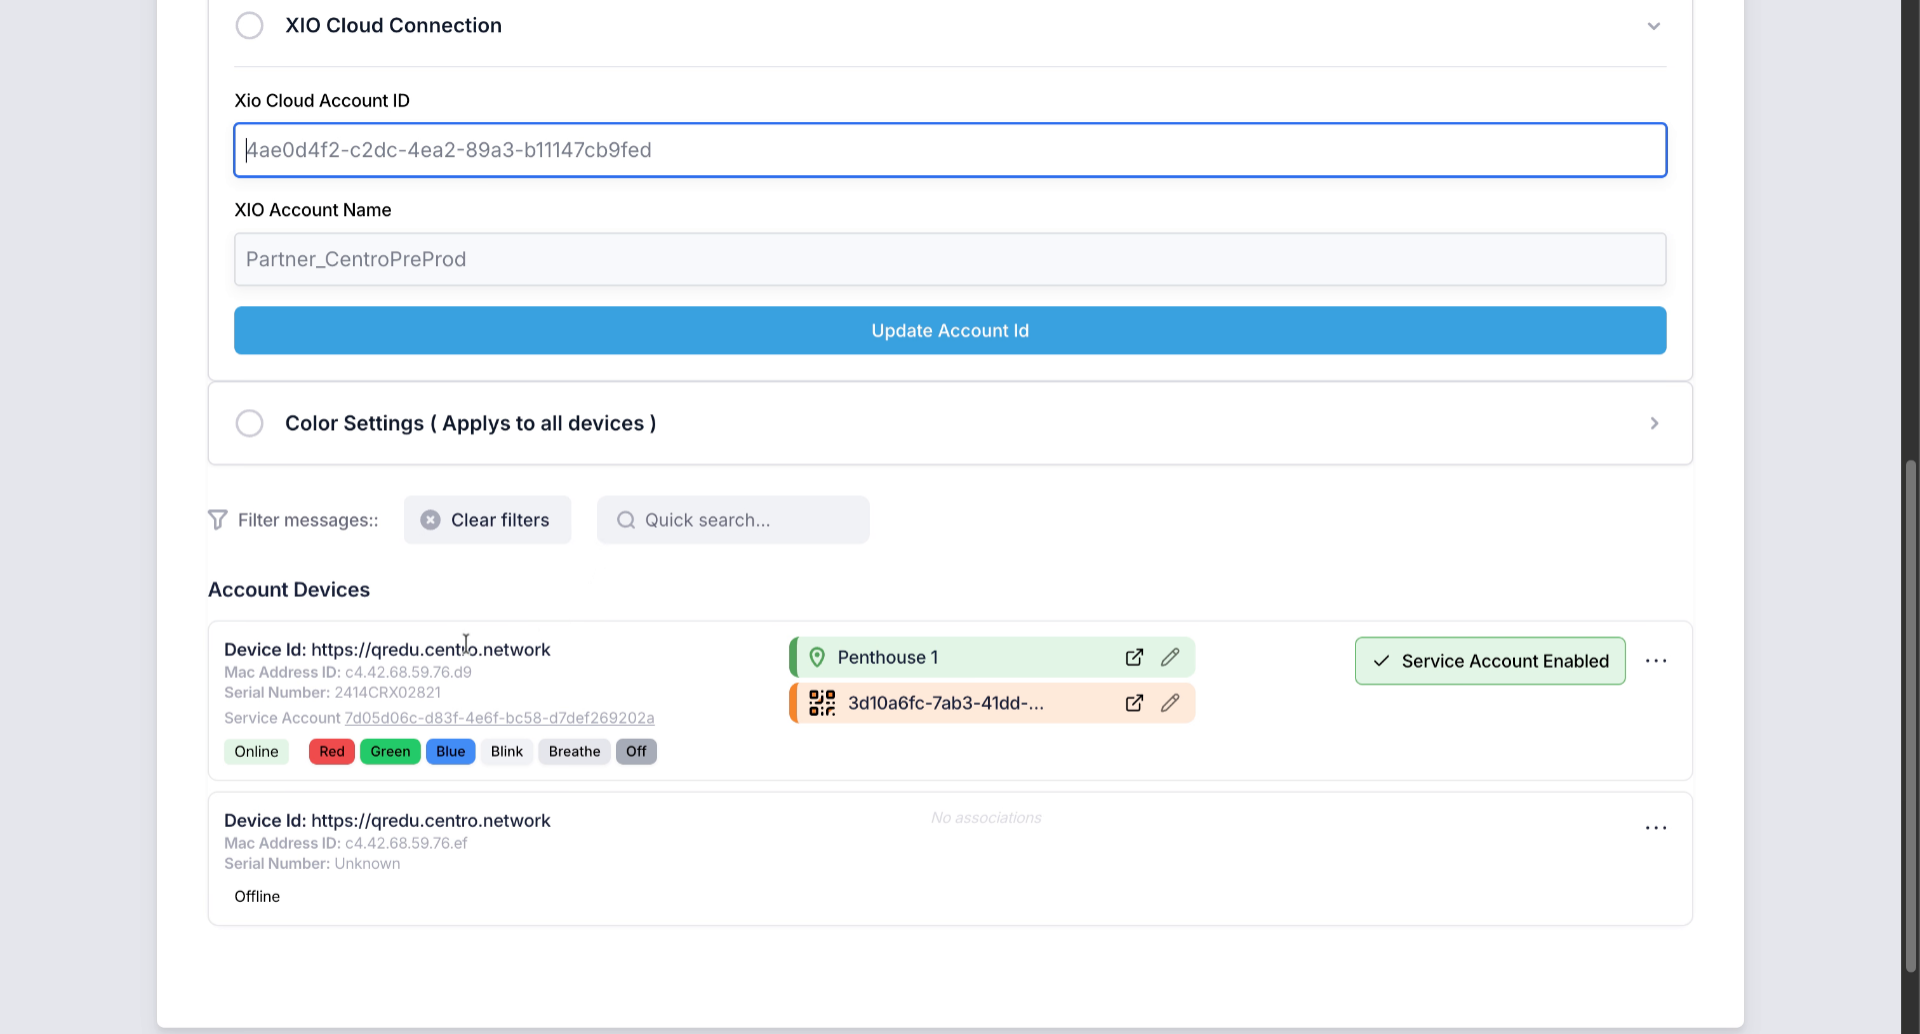
8. Enter Xio Cloud Account ID
You need to place your exIO cloud account ID, which you can find in your Crestron exIO Cloud dashboard.
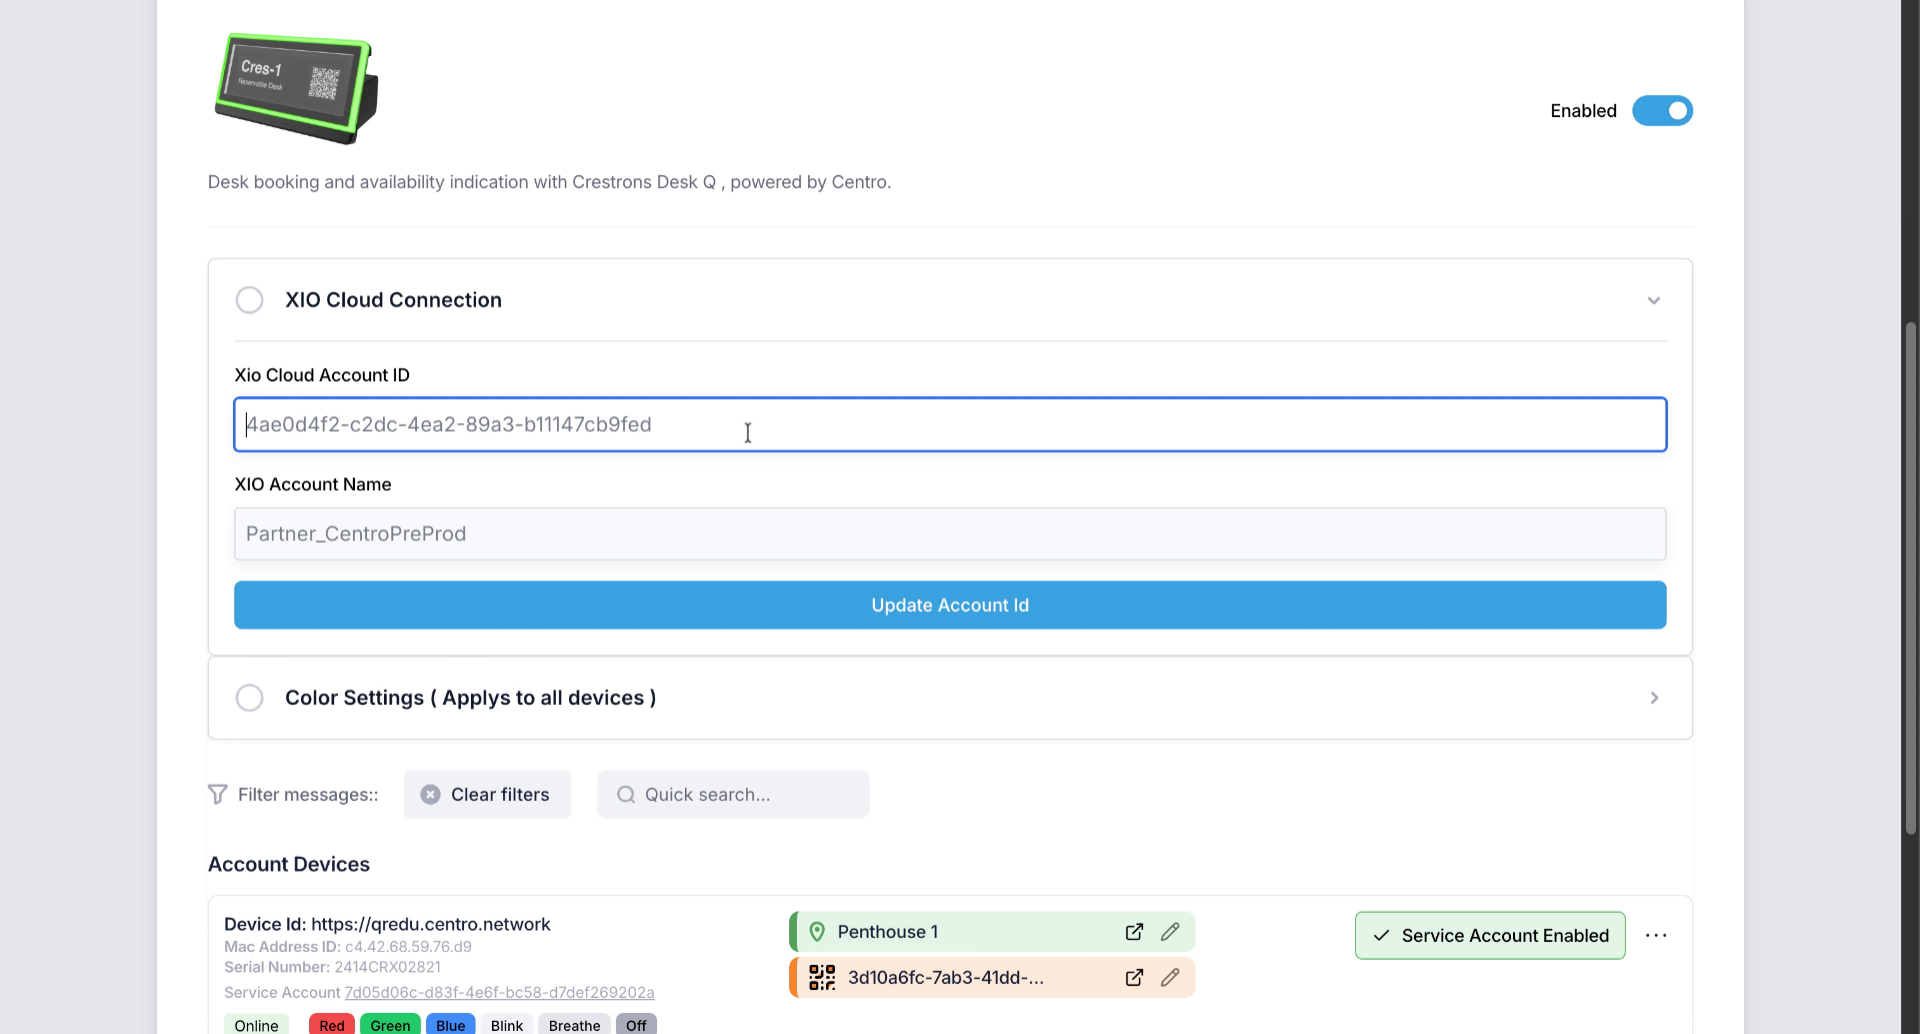
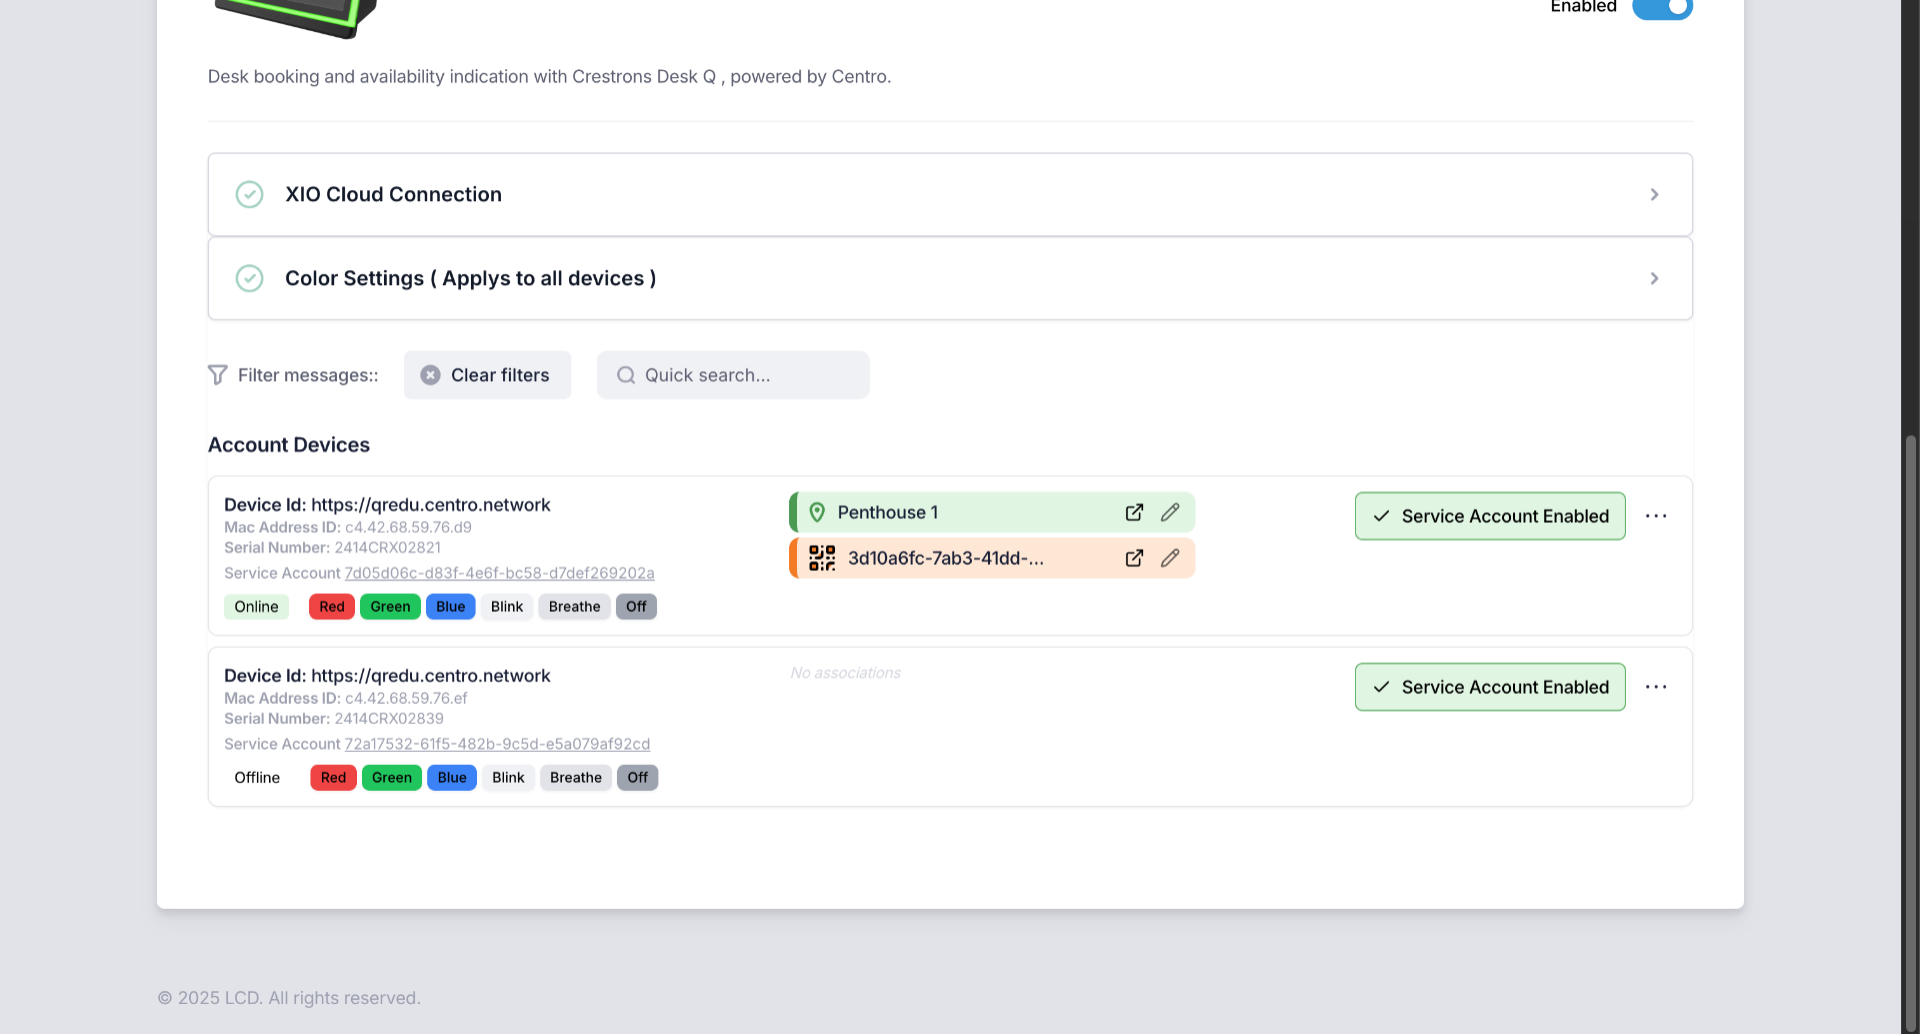
9. View Devices with Centro Scheduling
Devices that have Centro selected as their scheduling provider will appear in the list of account devices. and we can set up associations and service accounts.
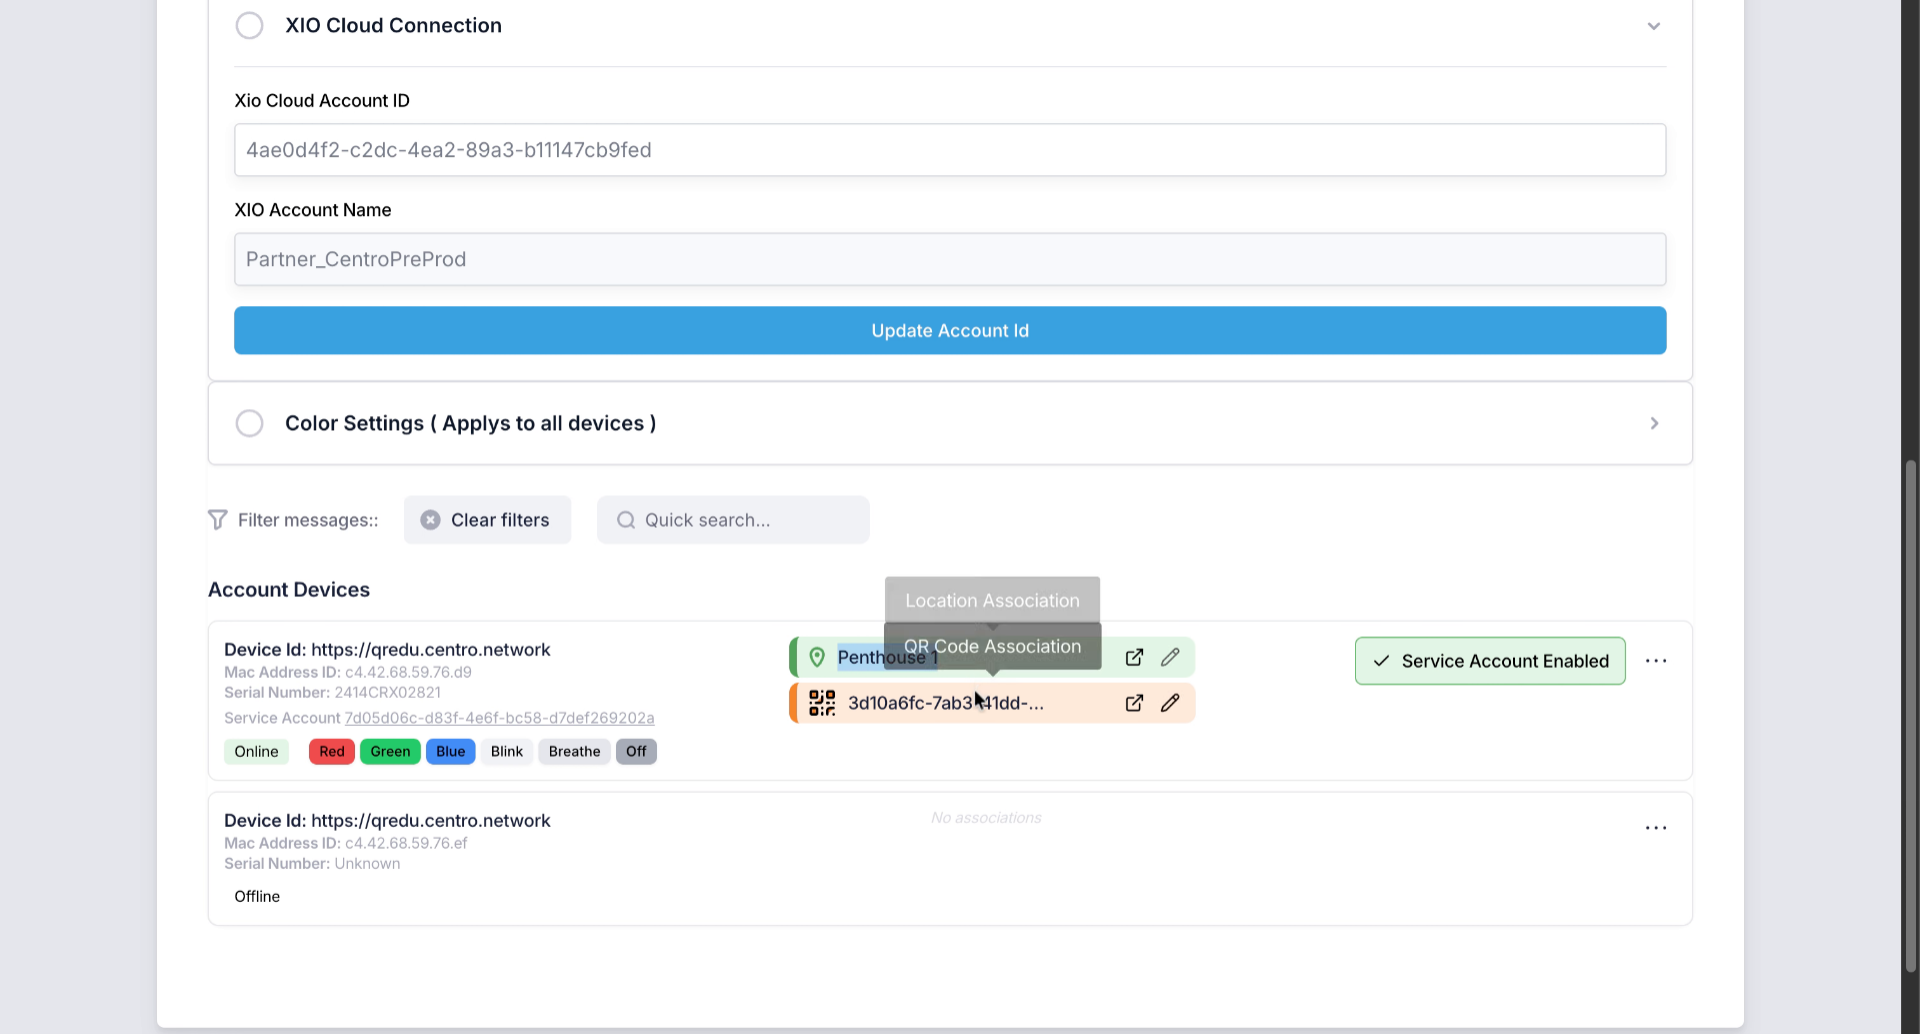
10. Associate Devices with Locations and QR Codes
Devices can be associated to a location within Centro and QR codes which link to user interfaces tailored to the users requirements within Centro.
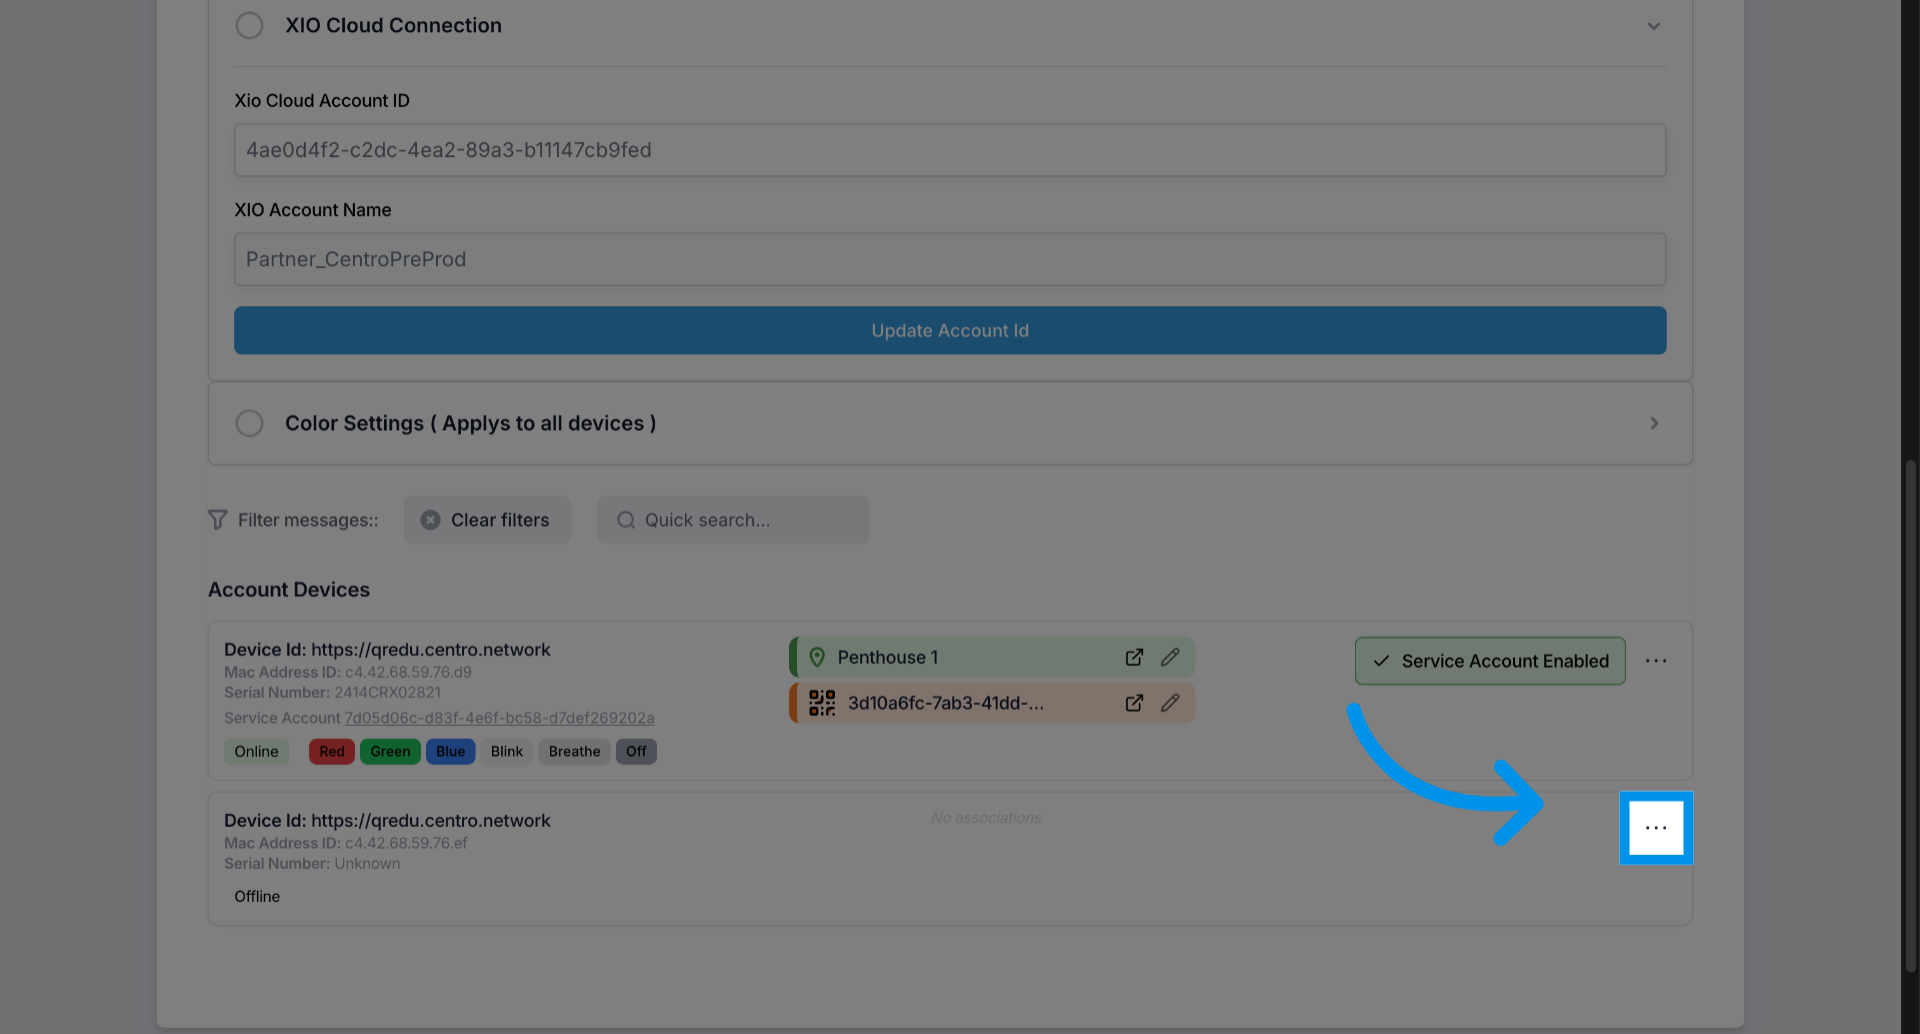
11. Open Device Options Menu
Open the options menu to manage device settings and associations.
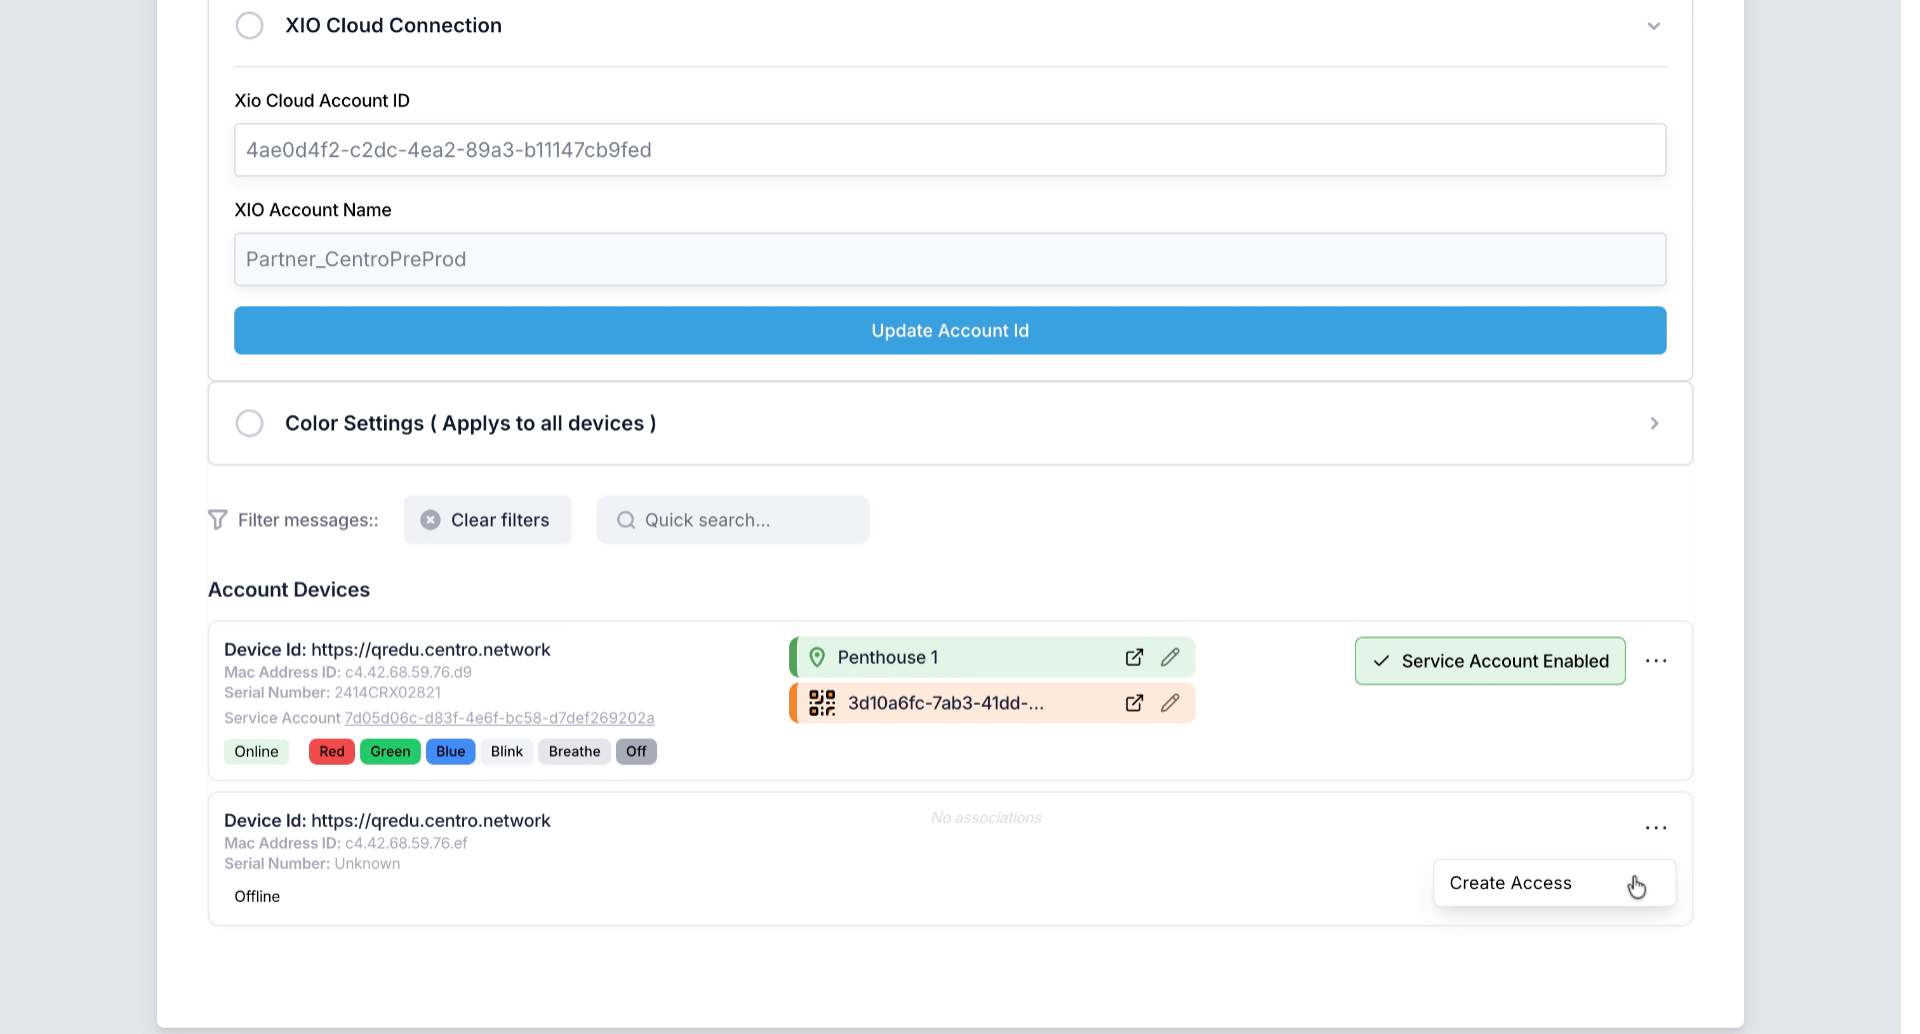
12. Create Service Accounts for Devices
We can simply create service accounts for each of the devices.
13. Access Additional Device Options
Access additional options to further configure device settings and associations.
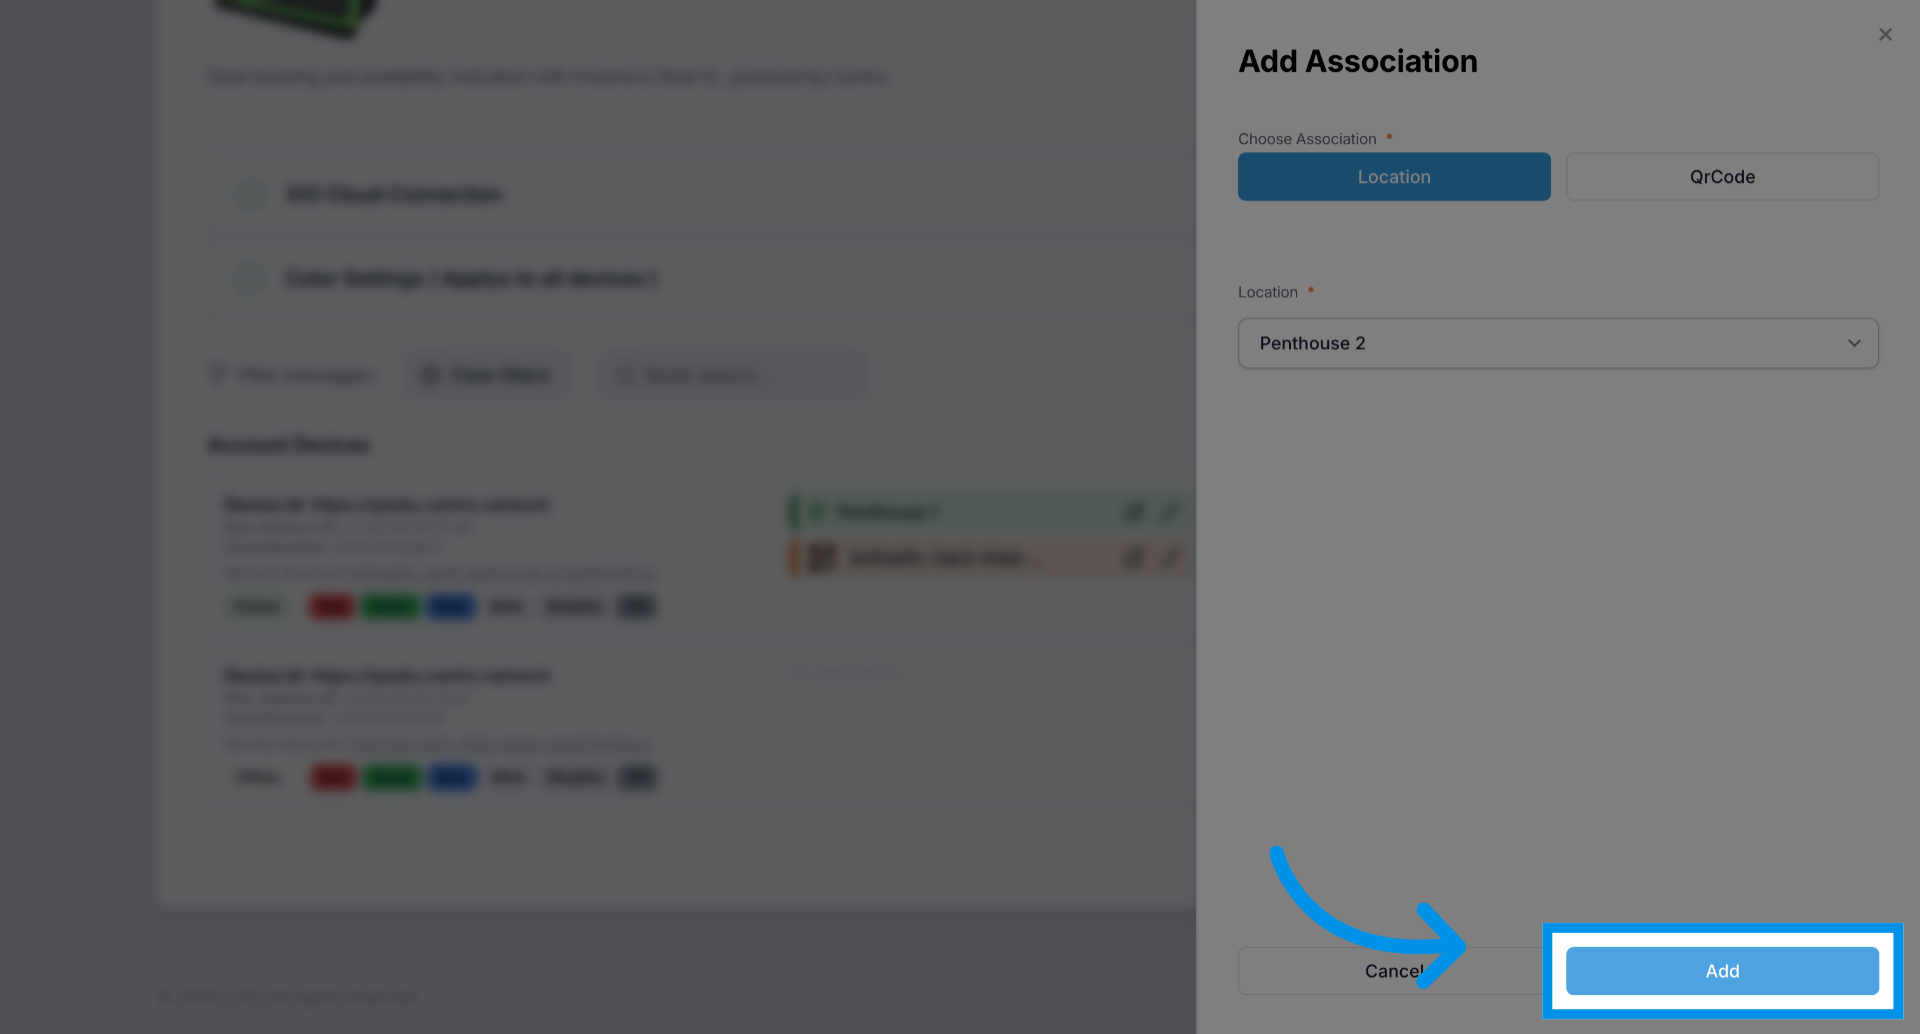
14. Associate Devices with Locations and QR Codes
And Associate them with locations and QR codes as required.
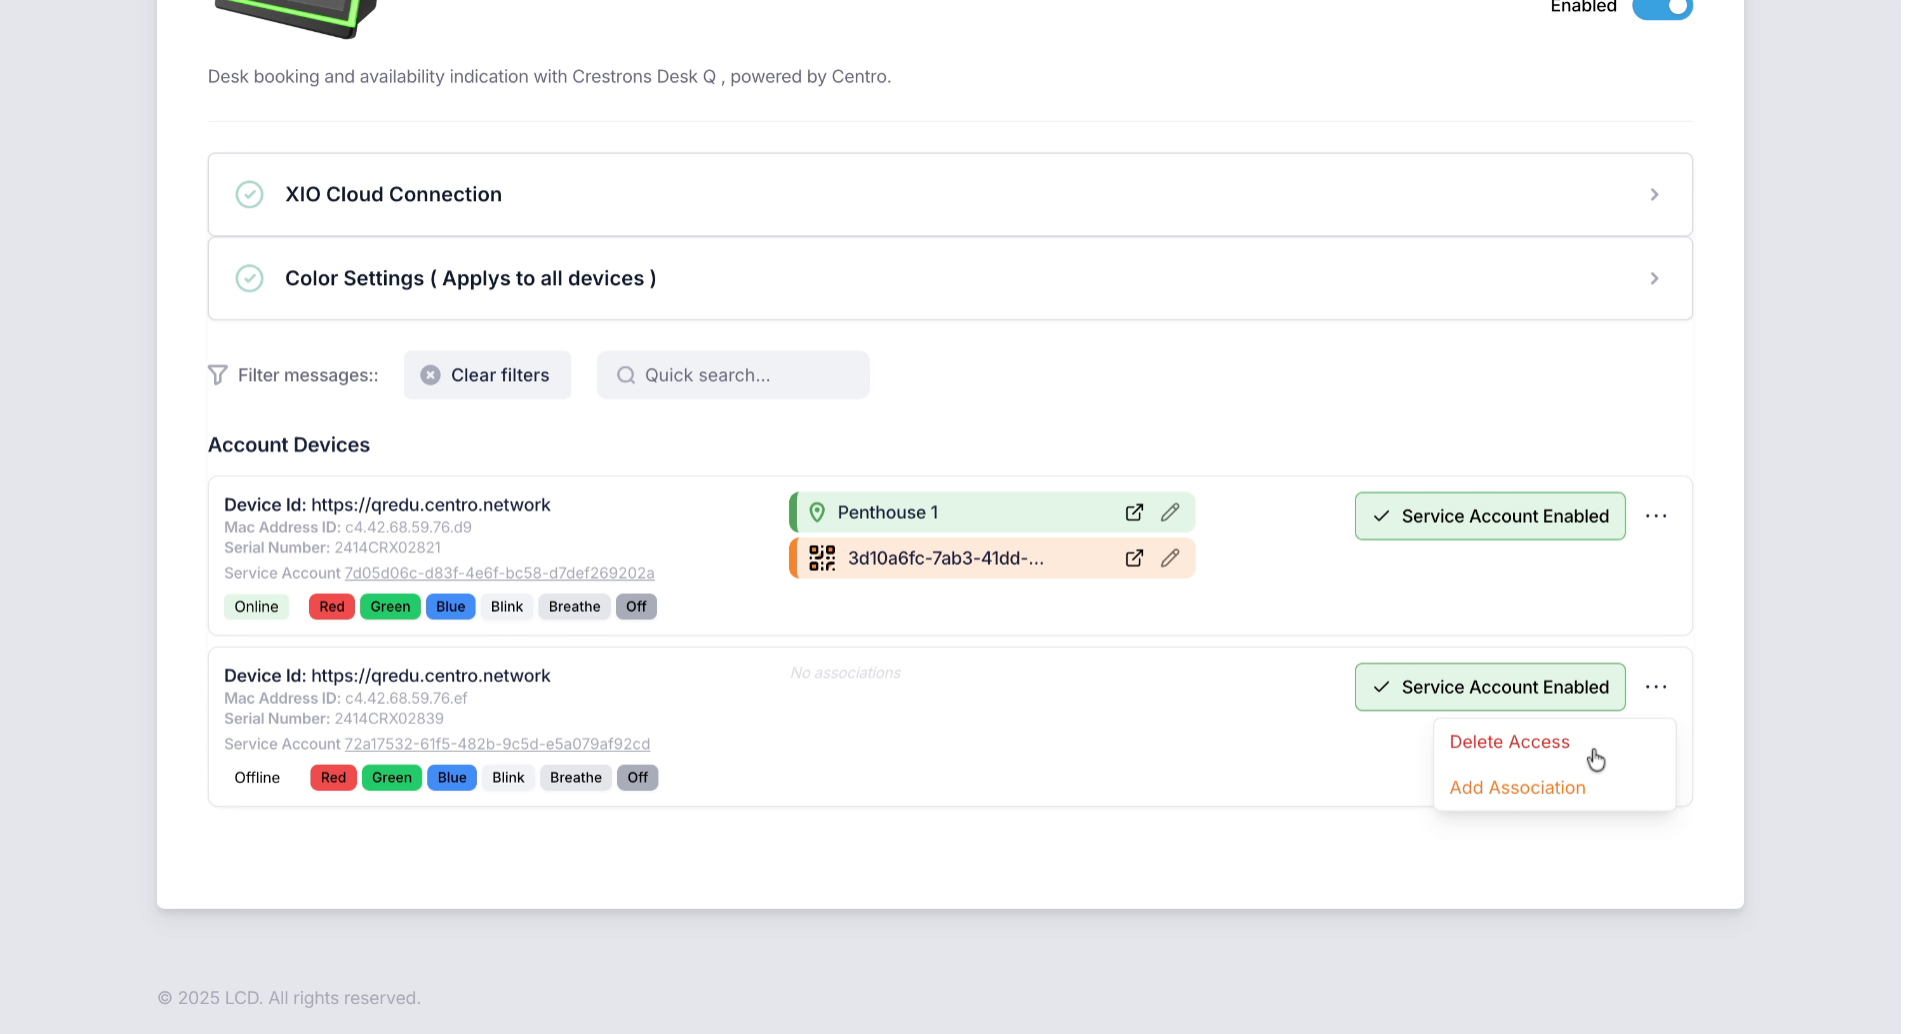
15. Add New Device or Service Account
Add a new device or service account to expand your device management capabilities.
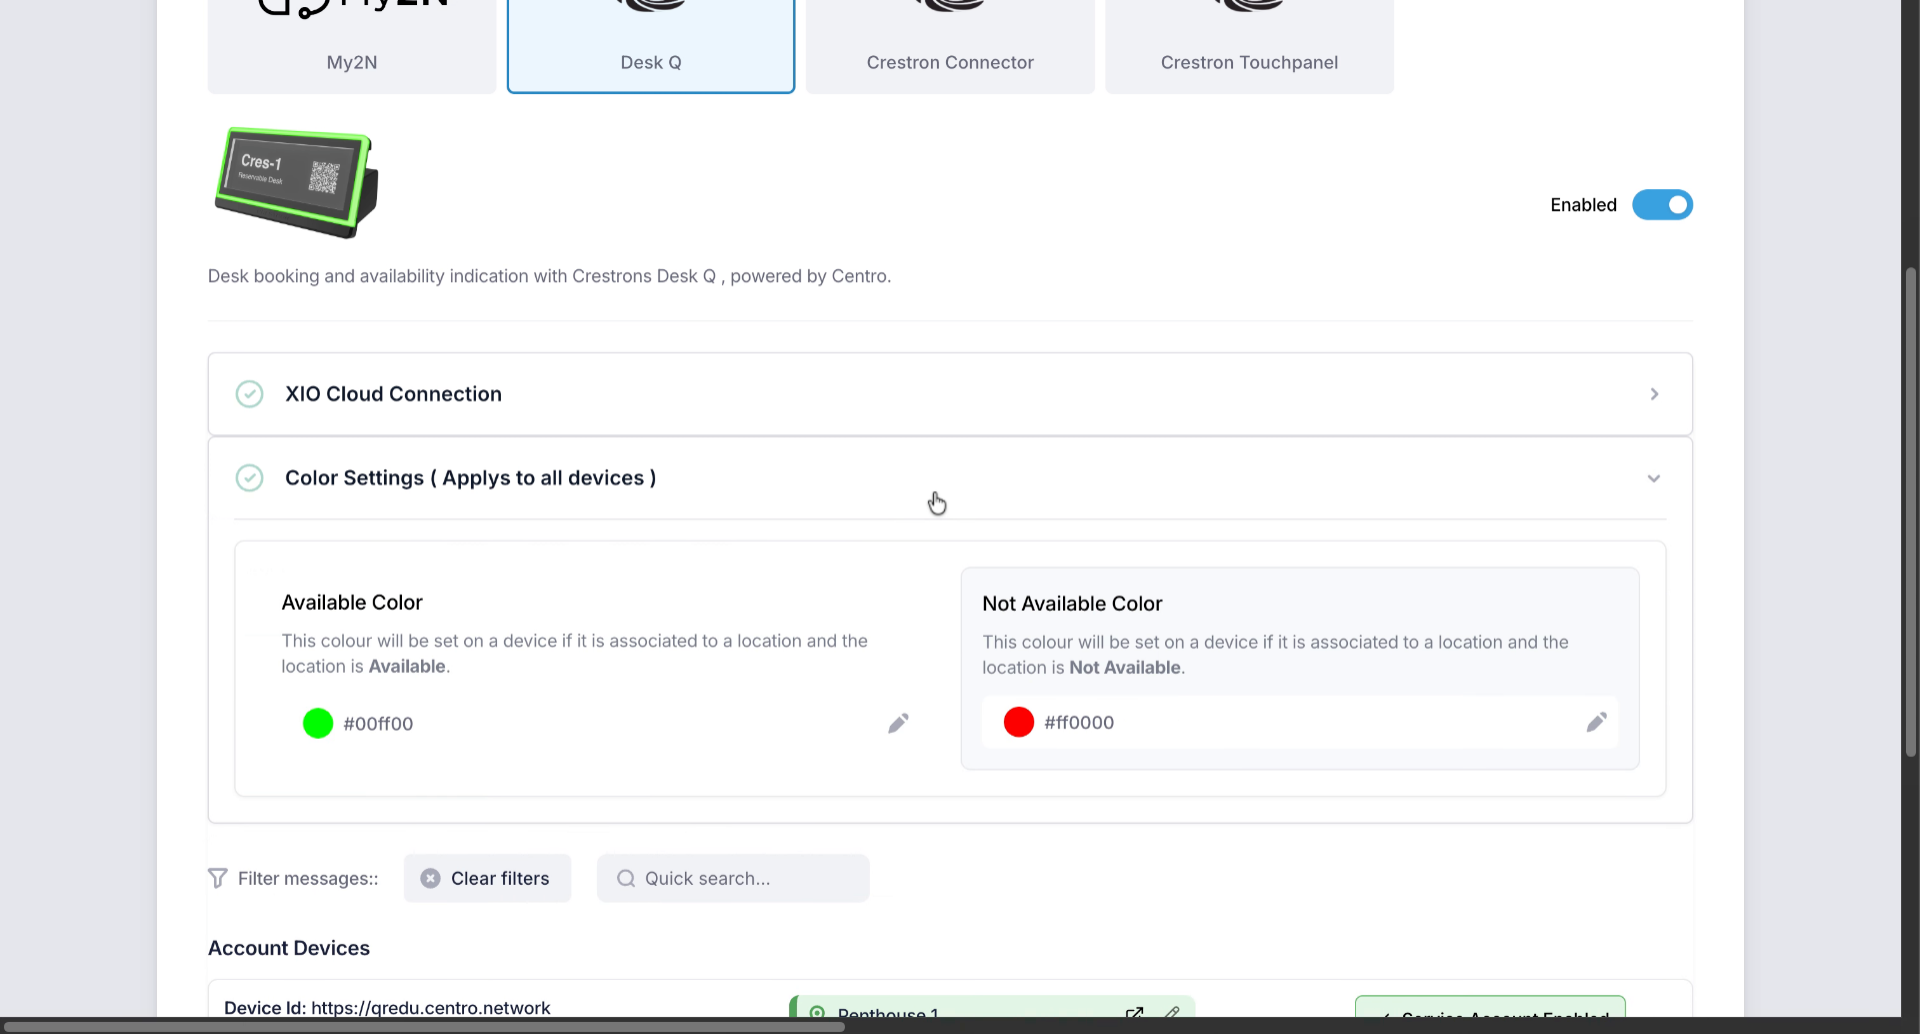
16. Configure Color Settings for Devices
Configure color settings that apply to all devices to visually represent availability and status.
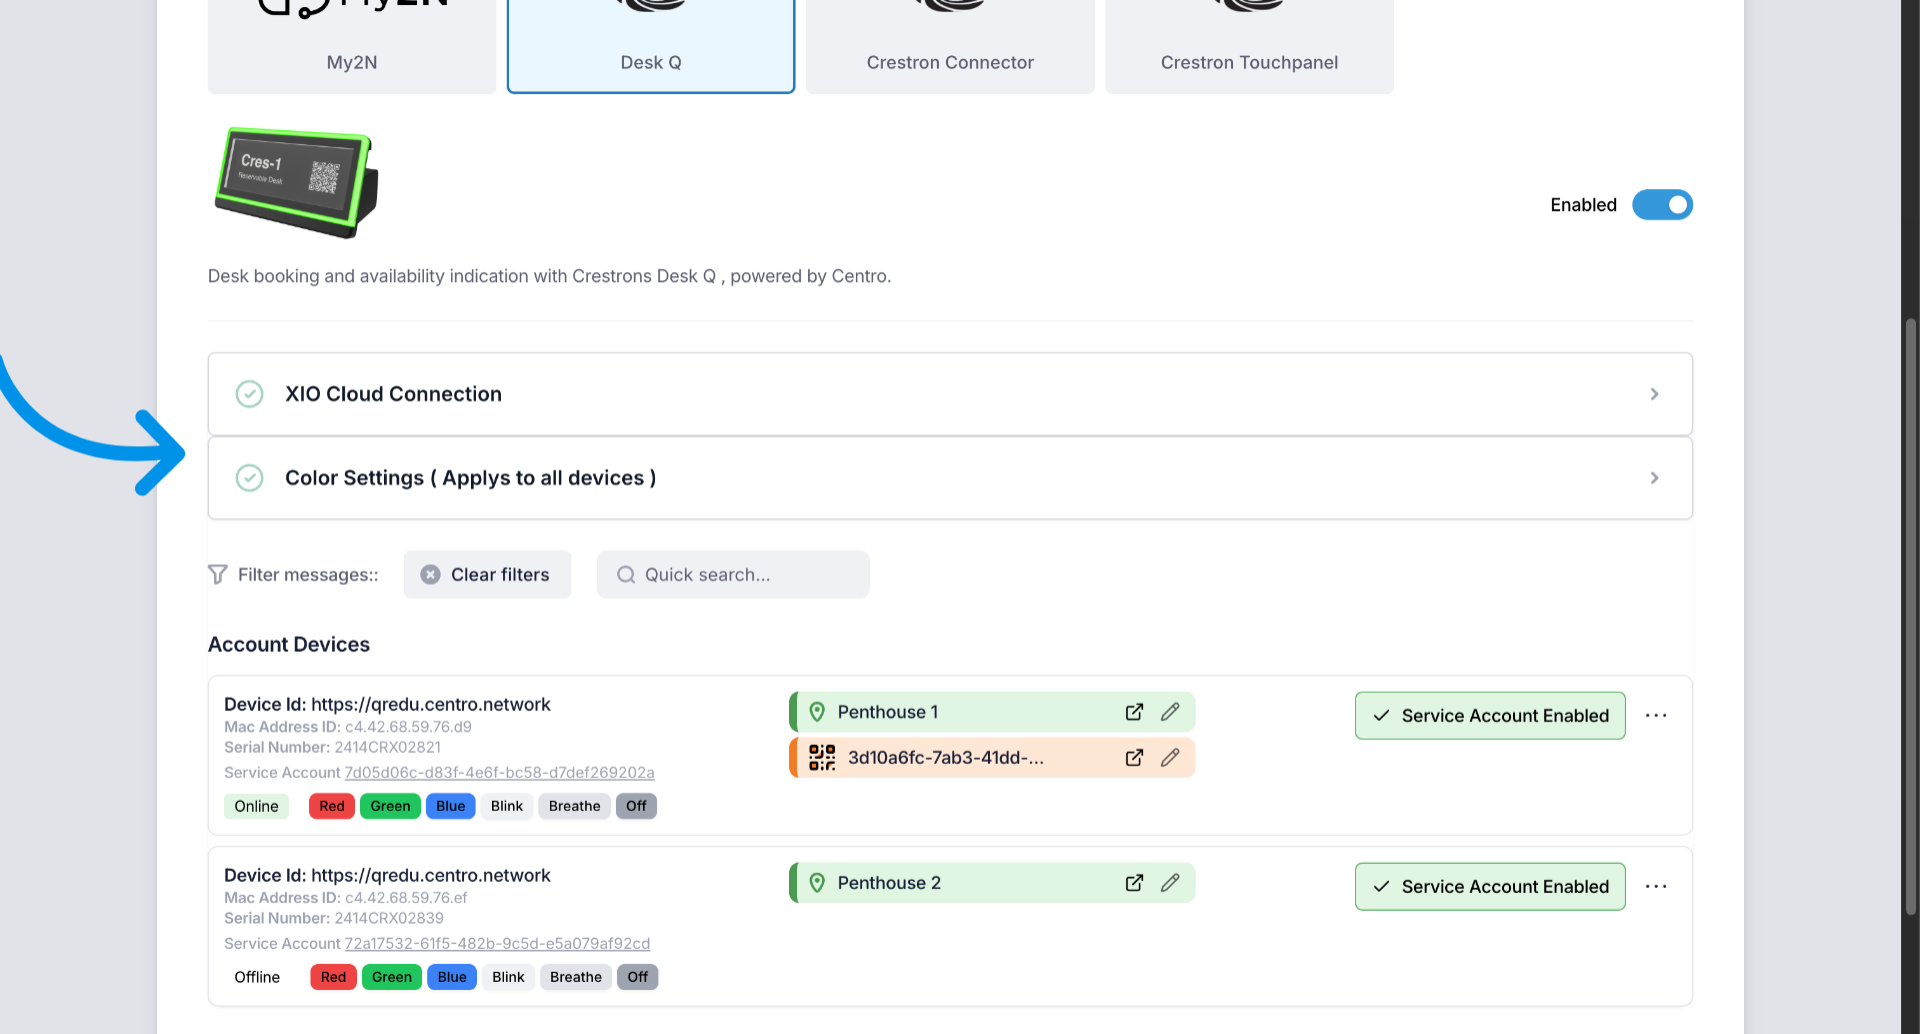
17. Set Native Availability Colors
Color settings for Native availability color based on our calendar Integrations with Google and Microsoft calendars. Can be set here.
18. Integrate Crestron Connectors and Interfaces
Desk Q is one of many Crestron products and platforms we integrate with. Please see information on our other integrations on docs.centro.network
This article detailed how to enable and configure device integrations within Centro Desk, including linking exIO Cloud accounts, associating devices with locations and QR codes, and setting color availability based on calendar integrations. For more information, explore related articles on Crestron and Centro integrations.